Posts on Happily Homegrown contain affiliate links. When you make a purchase through an affiliate link, your price will be the same, but Happily Homegrown will receive a small commission. Thank you for your support!
DIY Raised Garden Beds
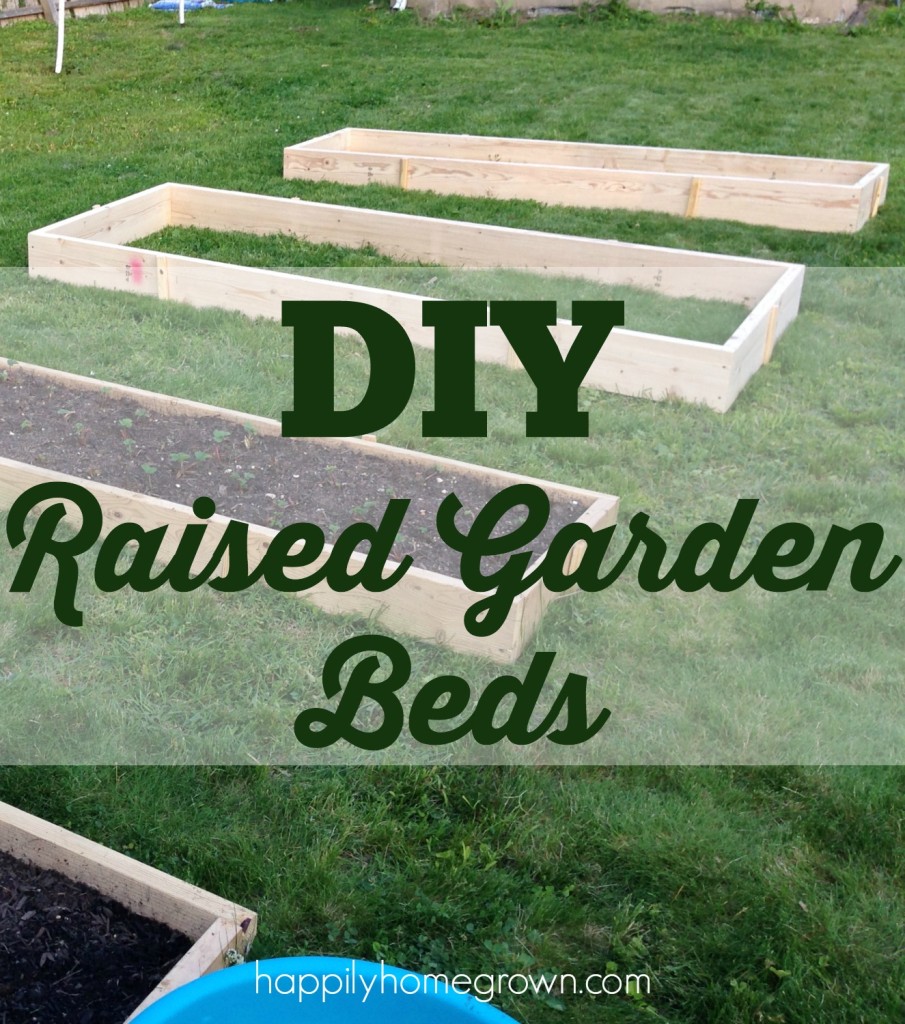
If you have ever looked on Pinterest for raised garden bed ideas, you probably had the same results that I did. Easily hundreds of beautiful gardens, made with just about any material imaginable, and at a wide variety of price points. While some of the raised garden bed kits are absolutely beautiful and will have the longevity that I am looking for, they have a price tag that would limit me from getting multiple beds in a single growing year. And that’s why we went with super easy DIY raised garden beds.
Each year, I have a limited budget for what I can spend on my gardens, and that includes adding new beds, soil and compost, mulch, new plants, seeds, all of it! I want to keep the cost of my raised garden beds as low as possible so I can use my budget where its going to make the most impact and get me the most bang for my buck.
That said, we still add beds each year – 4 the first year, 5 last year, and 2 more this year (even though we weren’t originally adding any beds this year).
We have the most basic wooden frames made out of Hem-Fir (hemlock or fir). These boards are untreated, and don’t last nearly as long as going with cedar, but they are inexpensive and will easily last 6-8 years which is good enough for me considering the much lower price.
No matter what size your beds are going to be, there are a two things for you to consider.
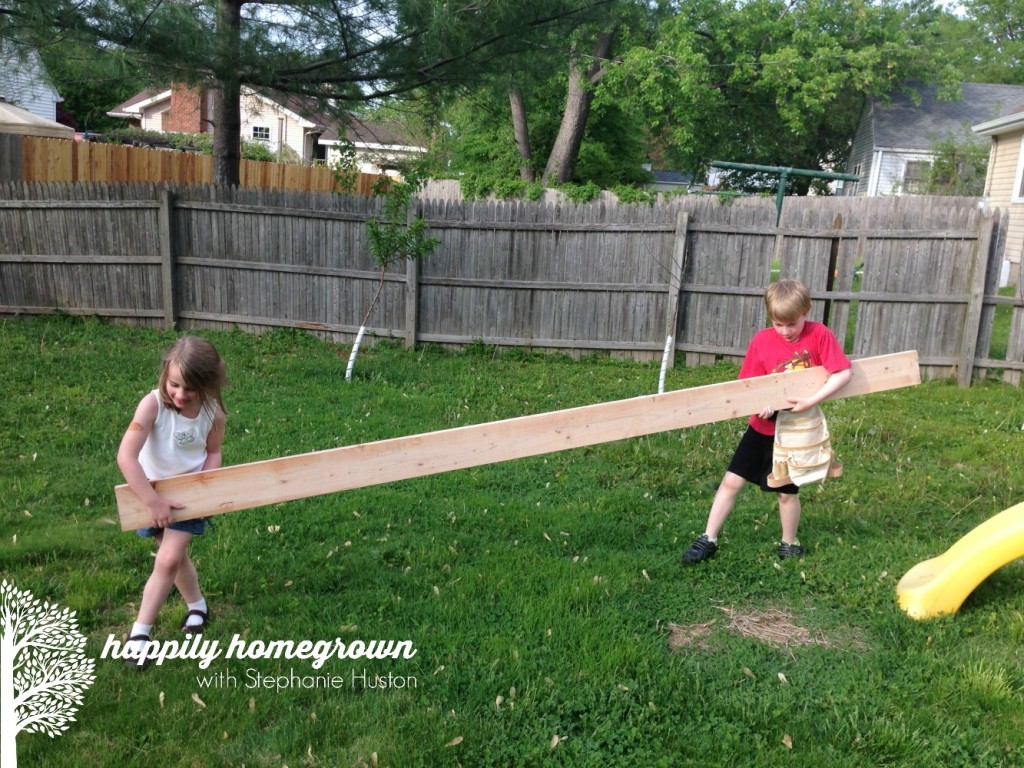
- Size – You don’t want your raised garden beds to be more than 4′ wide so that you can reach in from any side. As for the length, go with the length of a standard board so you have fewer cuts and no extra junctions when building. Boards are often available in 6′, 8′, 10′, 12′ or 16′ lengths.
- Depth – Again, go with a standard board width, and you will have a good height for your beds. It is recommended that raised beds be a minimum of 6″ deep, and I have seen boards in 6″, 8″, and 12″ width which makes this super easy.
My beds all use either 2×6 or 2×8 boards in various lengths. I have found that only having to cut the boards for the short sides of the beds makes it easier for us, and gets the beds made quickly and on the ground. Also, if you don’t have a saw at home, Home Depot and Lowe’s will both cut a board for you, and if they are not busy and you ask nicely, sometimes multiple cuts. For our new beds that are going to be 4’x6′, I purchased two 10′ boards, and had them cut 4′ off of each board giving me a 4′ and 6′ length – one long side and one short side per board.
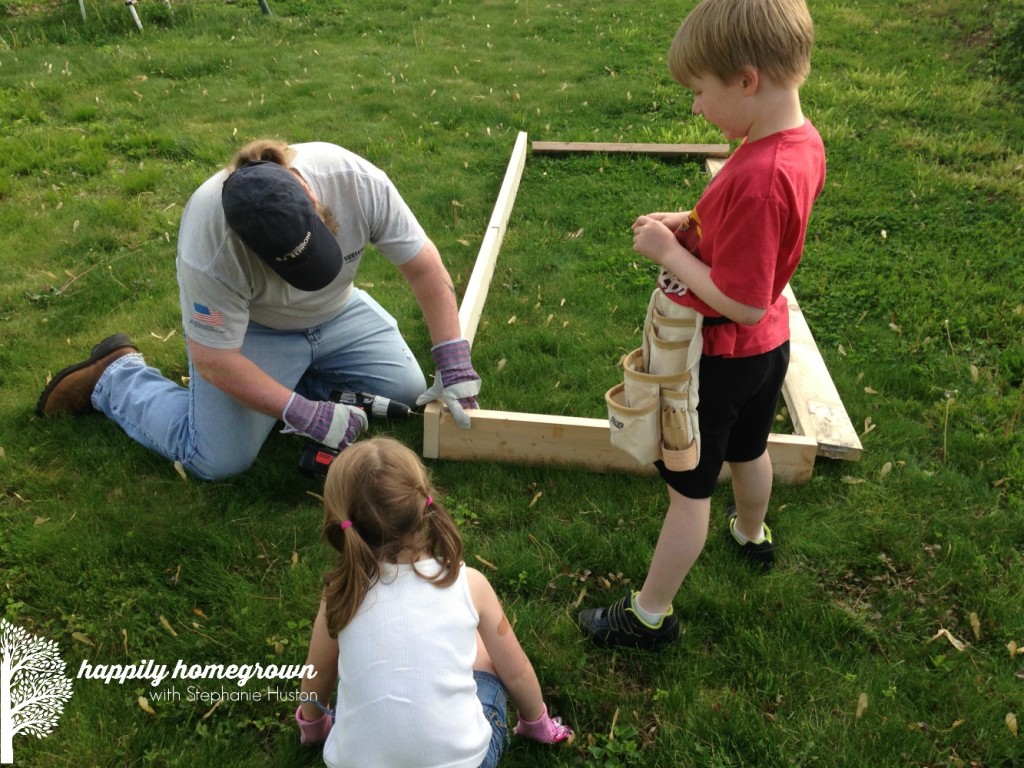
To attach the sides to your boards, we use 4″ decking screws, 8 per bed. Pre-drill your holes to make joining the boards together go easier.
Once you have your box frame made, its time to prepare the ground where your raised garden bed is going to go. Do not till the soil, this is going to be easier than traditional row gardening where you plant directly in the ground! You want to mow the lawn that is in that area, and pull any invasive weeds. I try to remove onion grass and dandelion as best I can, but it doesn’t need to be perfect. Then you are going to cover the area where your raised garden bed is going to go with unwaxed cardboard. Ask around to friends and neighbors for boxes, and remove the packing tape and labels since they won’t break down. Once you have the area where your raised garden bed is going to go covered in cardboard, spray it down with the hose. Next place your bed on top of the cardboard. We use landscape steaks to hold the bed in place while we fill it, so now is a good time to put those in as well.
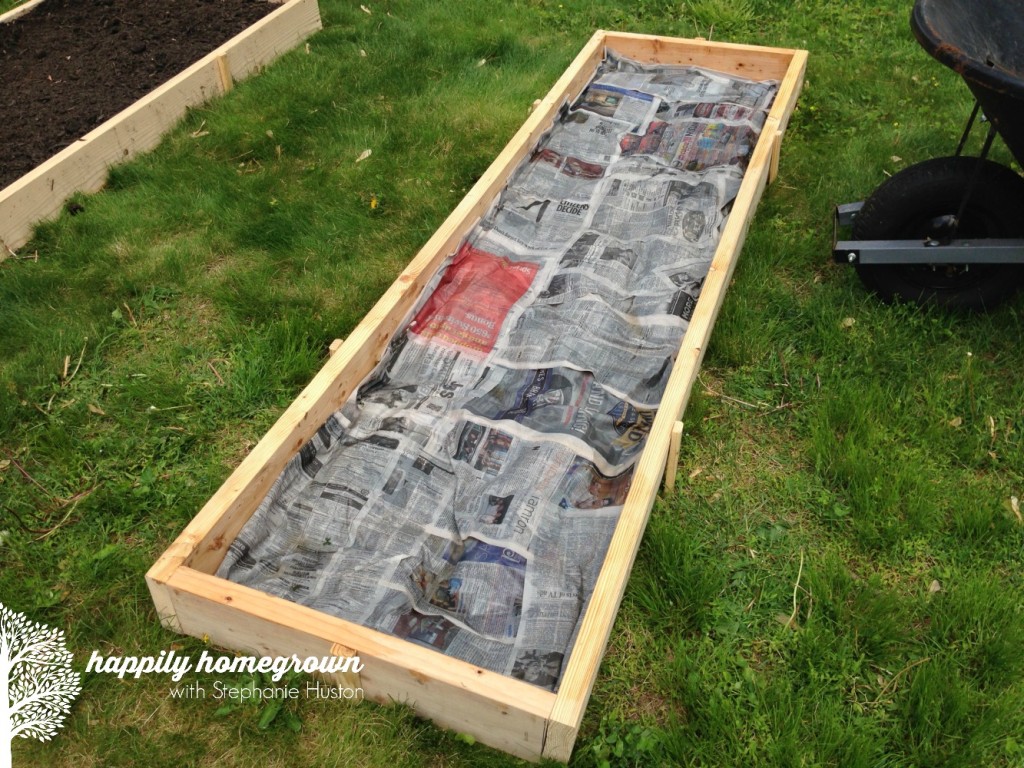
If there is any ground peaking through the cardboard, now is when you want to cover it with several layers of newspaper, wetting it down as you go. Once all of the grass/ground is covered with either cardboard or wet newspaper, its time to fill your raised garden beds with the growing medium of your choice. We use a combination of peat moss, garden soil, sand, and compost.
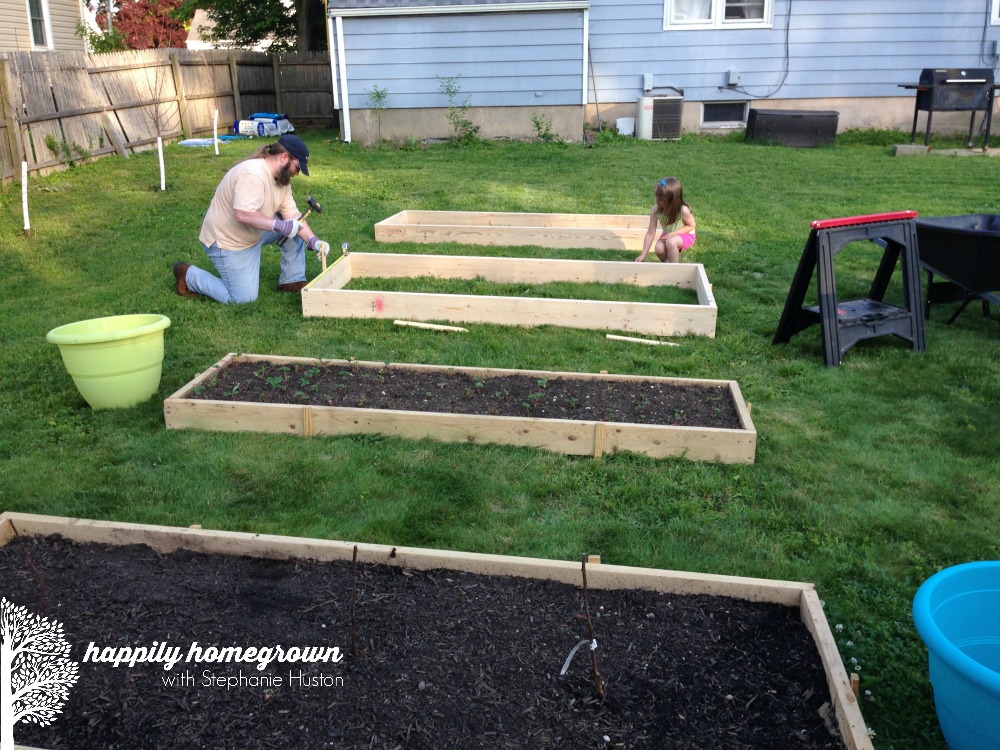
These are very basic, inexpensive raised garden beds. They aren’t the most beautiful beds, but they are completely functional and very easy to build without any prior woodworking experience. Happy Gardening!




 How to Grow Peas
I really like the look of the finished product. I also love seeing you get help from the whole family. Great job. Come on, spring!