
Posts on Happily Homegrown contain affiliate links. When you make a purchase through an affiliate link, your price will be the same, but Happily Homegrown will receive a small commission. Thank you for your support!
There are many worm compost bins on the market, but most will run you a hundred dollars or more. I’m going to show you how you can repurpose items you already have to make your own worm compost bin and put it directly in the garden.

Gardeners know that worm castings are the black gold of the compost world. You can purchase 12 lb bags from your local garden center for about $16. It adds up, which is why many people want to DIY it and have their own worms producing at home. On the downside, vermiculture kits can get expensive. Some kits can cost as much as $300!
That’s just crazy!
You can totally DIY your worm bin, put it right in your raised bed garden, and do it for under $5.
What Do I Need to Build a $5 Worm Bin
To build your $5 vermicompost bin you will need:
1 – 5 gal bucket & lid (I reused a kitty litter bucket)
Food scraps
Shredded paper
1 container of Red Wiggler Worms from the bait shop (anywhere from $2-5)
That is it.

How do I build a worm bucket?
To build your worm bucket, start with cutting the bottom off of the bucket. You can do this with a box cutter or reciprocating saw. Then, using a 1/2 inch drill bit, drill some holes on the bottom third of the bucket. I put about 6 on each side.
Decide where in your garden you are going to put your worm bin. Dig out the dirt. Place the bottomless bucket into the hole so about 3/4 of the bucket is in the ground.
Add your food scraps and shredded paper. Remember to keep a balance of 70% brown matter (shredded paper, leaves, cardboard egg crate) to 30% green matter (egg shells, fruit peels). Dump in your cup of worms. Place some damp shredded paper on top, and you are good to go.
Its really that easy!
How does a worm compost bin work?
The worms will work to break down the items you have added to the bucket. Additional worms will come from the surrounding soil, and the worms you added will travel back and forth. That means the worms are doing the work of fertilizing things for you so you don’t have to be moving things around.
Keep the balance of brown & green matter and your are good to go.

What can I compost in a worm bin?
- Food scraps (including things like melon rinds, roots, stems, leaves, cores, husks, seeds, skins, peels, etc.). Exceptions are listed below.
- Eggshells
- Seaweed and rinsed seashells
- Natural yarn, twine, and string
- Non-glossy paper products
- Tea leaves and bags (remove the staple); coffee grinds and natural filters
- Dead plants, grass clippings, pine needles, and leaves – just make sure they have not been sprayed with pesticides
- Natural non-treated wood and byproducts like wood ash, sawdust and shavings (no coal ash)
- Feathers and hair (human, cat, dog, etc)
What shouldn’t I put in my worm compost bin?
- Citrus peels and juice
- Onions and garlic (a good rule of thumb is if it makes you smell, it makes your worm bin smell)
- Meat, fats, grease, bones, or oils
- Plastics and plastic-coated paper (like glossy magazines)
- Stickers, including veggie stickers (remove stamps from envelopes)
- Bread or yeast products
- Salt, pepper, and other spices
- Dairy products
- Cat or dog feces
- Diseased or infested plants
- Treated wood products
Other Vermicomposting Tips
Vermicomposting needs air. Once a week, give the contents of your bin a gently mix to aerate it and then top it off with some fresh shredded newspaper.
More worms mean that you will break down the contents faster, but you will also need to make sure you keep them fed. Don’t forget to feed them often.
On the flip side, if your worm bin begins to smell, you may be feeding your worms too much or too often and they aren’t breaking down enough of the material before you add more to the bin. Give them a break for a few days, add a little more brown material, and wait for the balance to return.


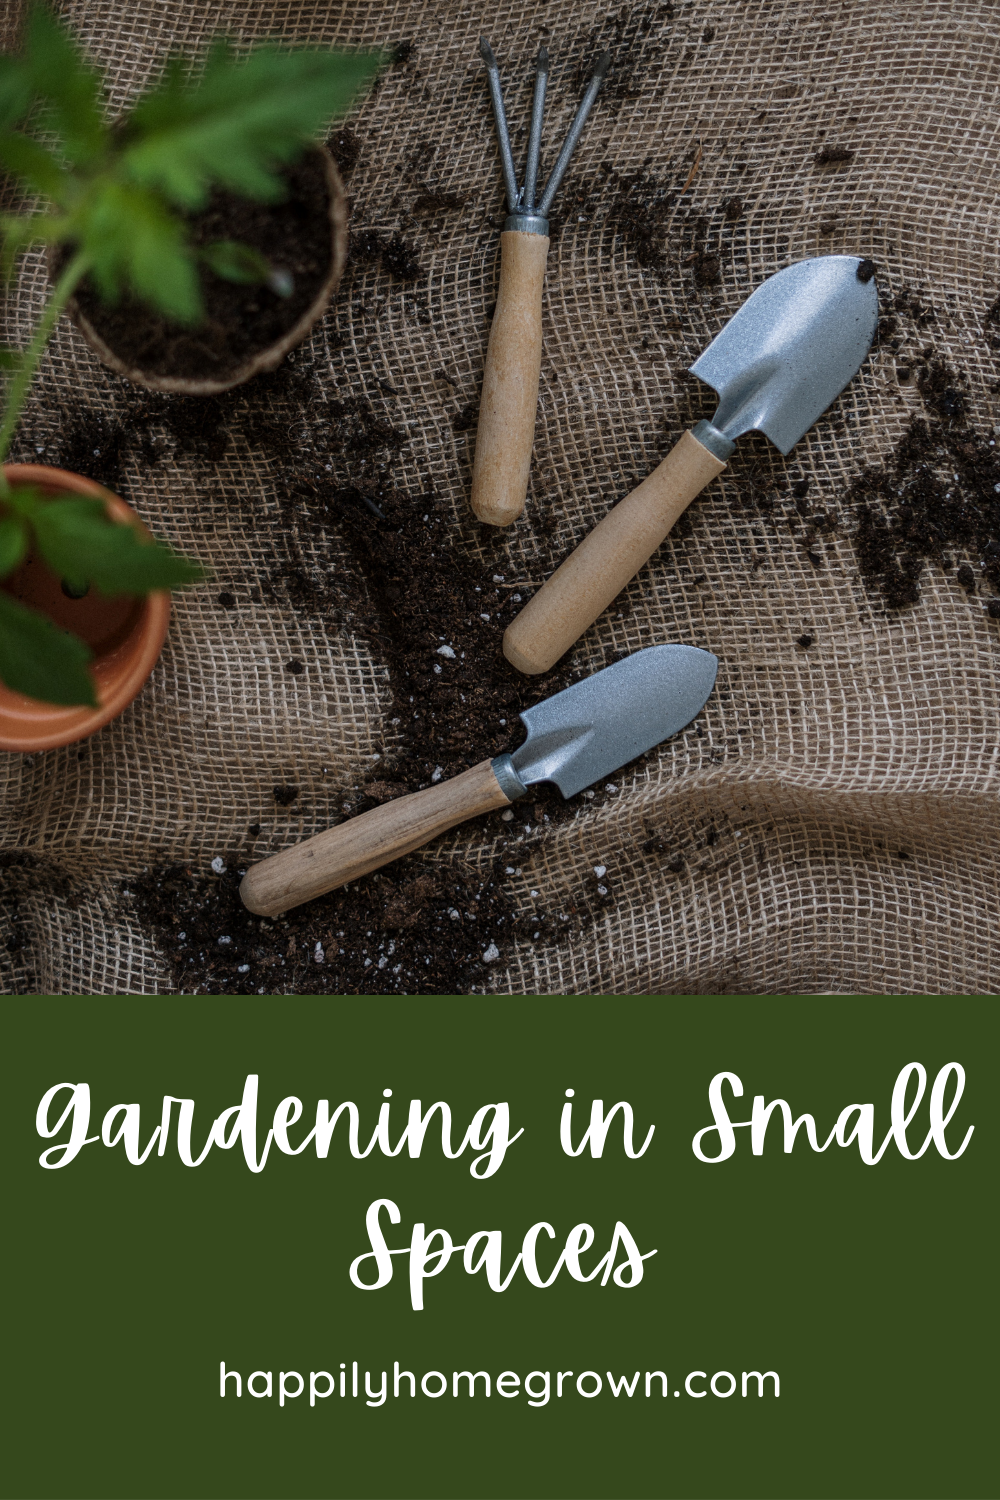 Gardening in Small Spaces
This is great info. Can you still do this through the winter months?
We found that the items weren’t breaking down and being eaten as much in the winter months with this setup.