Posts on Happily Homegrown contain affiliate links. When you make a purchase through an affiliate link, your price will be the same, but Happily Homegrown will receive a small commission. Thank you for your support!
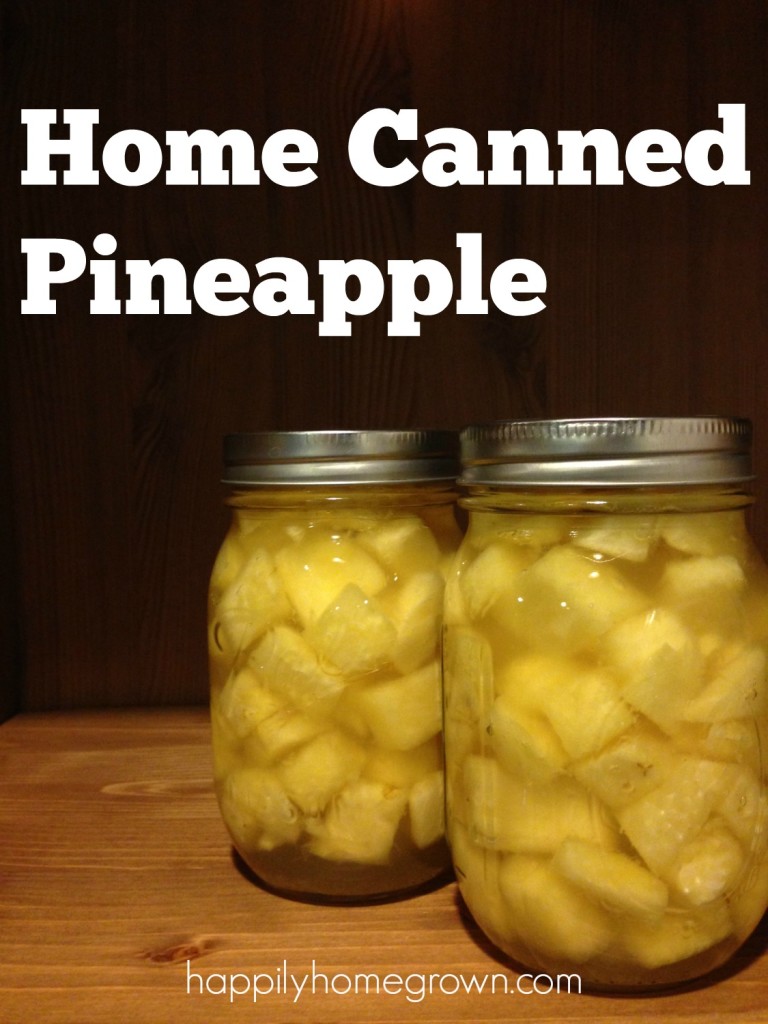
Once upon a time, I found great satisfaction in stocking my pantry with groceries because it meant that I was able to provide for my family. Now, I find even greater satisfaction by stocking my pantry with rows of beautiful Ball jars, filled with home canned yumminess, like this home canned pineapple that I made this afternoon.
Canning is a terrific way to preserve fresh produce that you grow yourself, or that you find at a great price when it is in season. This week, our local Aldi had pineapples on sale for 99 cents each! This was a huge savings over the usual $4.99 that most pineapples are going for in the grocery store.
After a quick trip to Aldi to stock up, it was time to come home for an afternoon of canning! Some of my favorite time is spent in the kitchen over the canning kettle, and today was no different.
Home Canned Pineapple
For a canner load that holds 7 quart jars, you will need about 21 lbs of pineapple.
Wash your pineapples. Peel and remove eyes and tough fibers, and remove the core. Slice or cube the remaining pineapple to the size of your choosing.
Pineapple may be packed in water, apple juice, white grape juice, or in very light, light, or medium syrup. I use the pineapple cores, and simmer them in the water to make a “juice” then strain it and use that plus the sugar to make a light syrup (9 cups water/juice to 2 1/4 cups sugar = enough for 7 qts of fruit).
In a large saucepan, add your pineapple to the simmering pot of syrup, and simmer for 10 minutes.
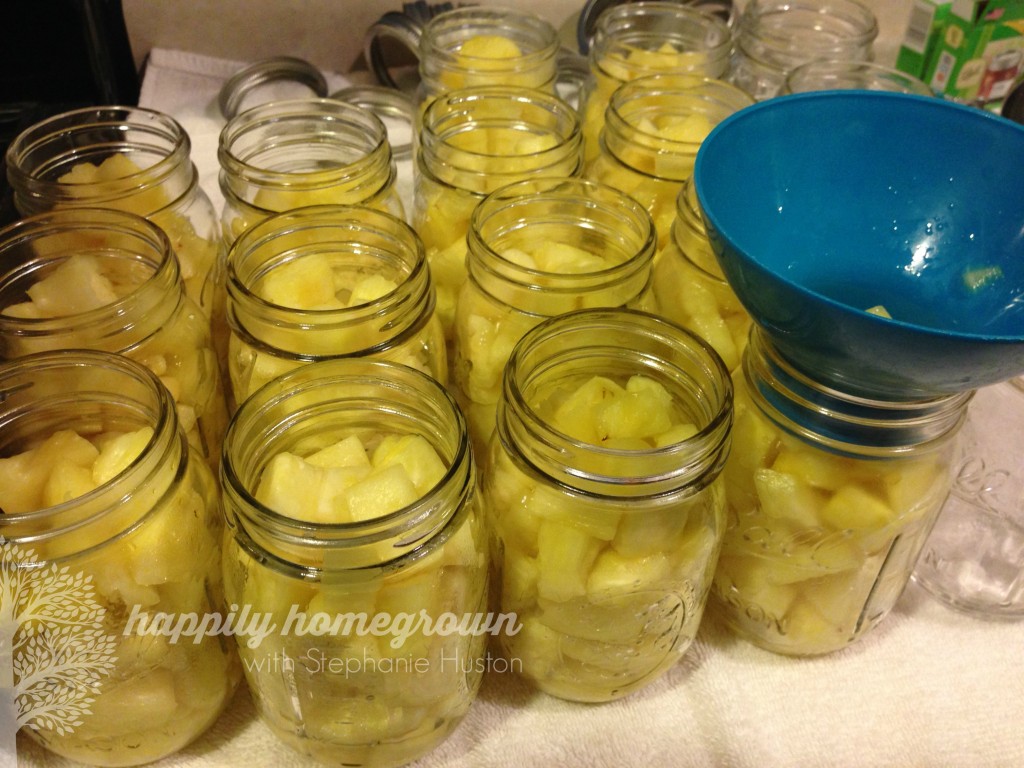
Fill jars with hot pieces and cooking liquid, leaving 1/2-inch headspace. Process in a water bath canner; pints for 15 minutes, and quarts for 20 minutes (at an altitude of 0-1000 feet).
If you live at an altitude above 1000 feet, you will need to scale your processing times for food safety.
If you would like to prepare single servings of your home canned pineapple, use 8oz jelly jars, and process at the time listed for pints.
Once you are done processing your jars, remove them from the canner, and place on a towel in a draft-free area. After 24 hours, test the seals. Any jars that didn’t seal go into the fridge and use them right away. All of the jars that sealed should have the rings removed, get wiped down, labeled with the contents and date, and stored in the pantry. If at any time your lid pops off having lost the seal, discard the contents of the jar.
For the best flavor, color, and texture, you want to enjoy your home canned goods within a year. When you are ready to enjoy your home canned pineapple, rinse any dust from the jar, open and enjoy!
My Results
I started with 20 small pineapple, each weighing in at about 2 1/2 pounds. After coring & chopping, I was left with about 22 pounds of pineapple chunks. I totally misjudged how many pints of pineapple that was going to be! All total, I have 27 pints of home canned pineapple cooling on the counter. That will give my family 1 jar, every 2 weeks for the next year.


 5 Books to Help You Get Ready for the New Year
Hey this is great! But Mmm if I’m doing a single can of pineapple how many liquid does it need or those the pineapple has to be covered by liquid?
Thanks! This is a great healthy idea
The pineapple has to be covered in the canning liquid, leaving a half-inch of head space in the jar. For each pint, make 2 cups of canning liquid/syrup. You won’t use all of it, but you will have a lot less waste than making a full batch.
I would like to make and can crushed pineapple syrup for Hawaiian pancakes and waffles. (topped with coconut and crushed macadamia nuts) Is there a special way to make this and can you water bath can it? Should I just make a jam and add less pectin?
I can’t find a canning safe recipe that also contains the coconut and macadamia nuts. However, you can make a no pectin pineapple jam and waterbath can that. By not using commercial pectin, it will be a softer set. If you want it to be an all in one recipe, I would stick with something that you can freeze in the portions for what you would need for a single meal (because then they will defrost faster and you’ll have less leftover that you need to keep in the fridge).