Posts on Happily Homegrown contain affiliate links. When you make a purchase through an affiliate link, your price will be the same, but Happily Homegrown will receive a small commission. Thank you for your support!
My favorite thing about gardening has to be eating fruits and vegetables that I grew myself. Taking them from seed, raising the plant, and then harvesting the fruits and veggies to serve my family gives me such a sense of pride and accomplishment.
And my absolute favorite from the garden snack – strawberries! I pick them and eat them as I go, still warm from the sun bursting with with flavor. If you’ve never had a fresh picked strawberry you are missing out! Nothing from the grocery store will ever match that flavor. That perfection.

But alas, in this region it only lasts for a few weeks in late May through early June.
This year, I was so incredibly busy during those few weeks that other than the handfuls of fresh berries that we ate, the rest of my strawberries went into the freezer for a later date when I would have a chance to channel their yummy early summer goodness and store it in a jar on the shelf for winter.
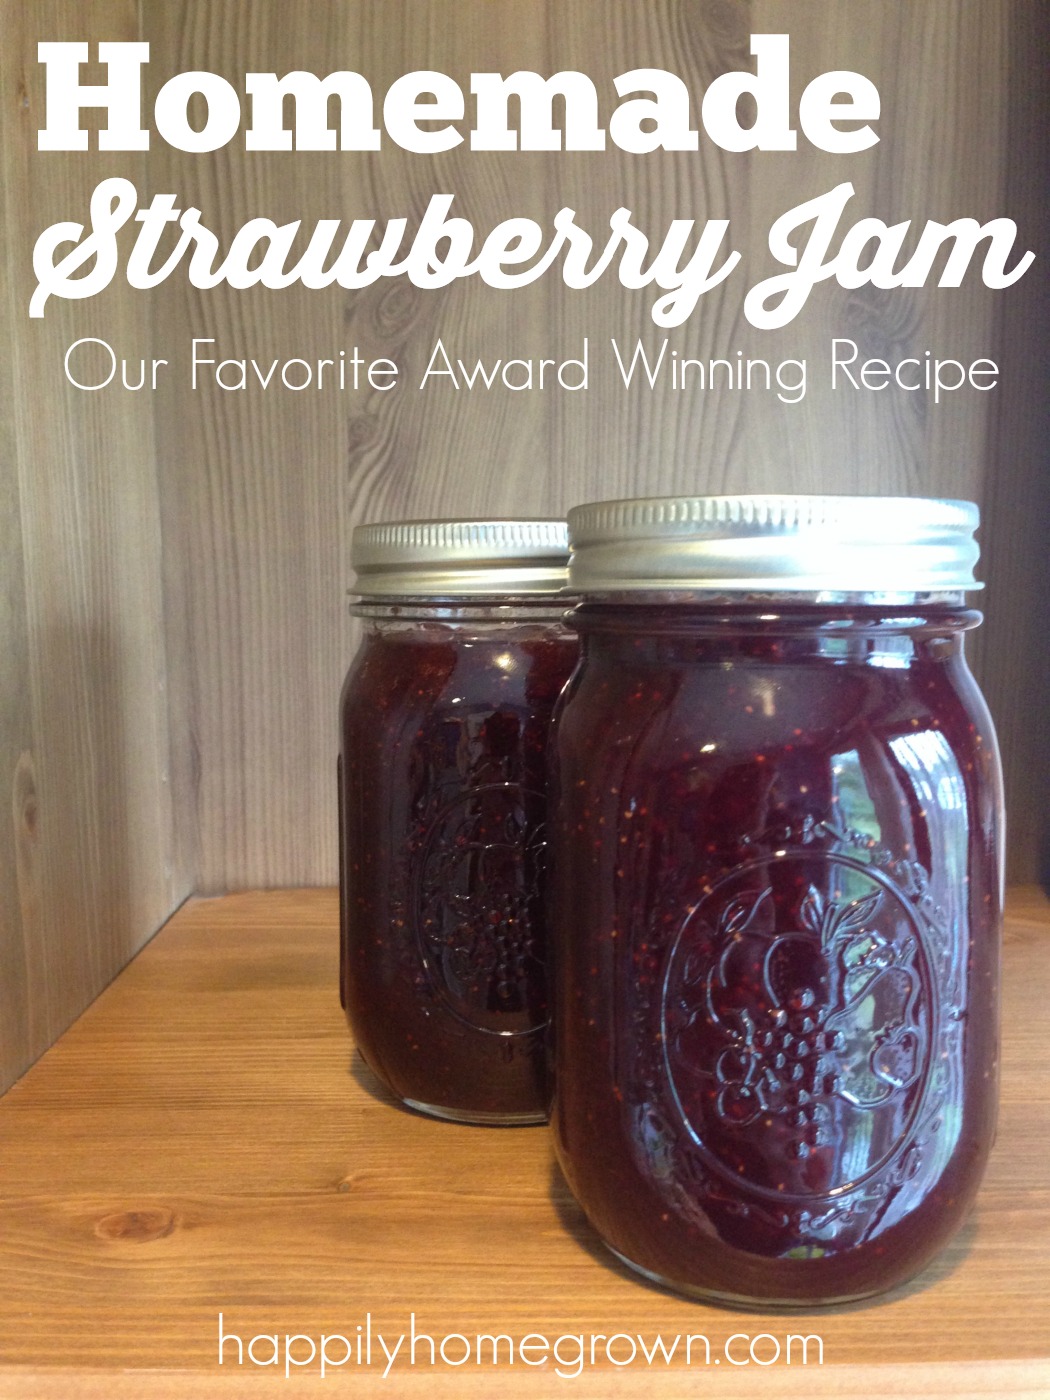
I’m talking about homemade strawberry jam, and you can make it with frozen berries just as easily as you can from fresh! In fact, if you don’t grow your own strawberries or can’t get them from a local farm, I highly recommend getting your strawberries from the freezer department instead of the produce department since frozen berries are picked at their peak, and immediately frozen, where the ones in the produce department are picked under ripe and shipped all over the country (and sometimes halfway around the world).
For today’s jam making, I am using strawberries that I froze myself. They were washed, and had their leaves and stems removed, and then I gave them a quick chop before putting them in freezer bags labeled with the date, and just how many cups of berries were in there. When you’re ready to make jam, just pull them out of the freezer, allow them to defrost, and you are good to go.
When I make jam, I want to decide how much to make based on how much produce I have available. For that reason, I prefer Ball brand RealFruit Classic Pectin in the 4.7 ounce jar. This allows you to make a flexible batch, and with as little 1 1/3 cups of prepared fruit (that means chopped or crushed), you can make your jam! If you want to make more jam, just scale up the recipe, but I do not recommend making more than 4x’s the amount listed below at a single time because of the size pot you would need as well as the possibility of scorching your jam.
Award Winning Strawberry Jam
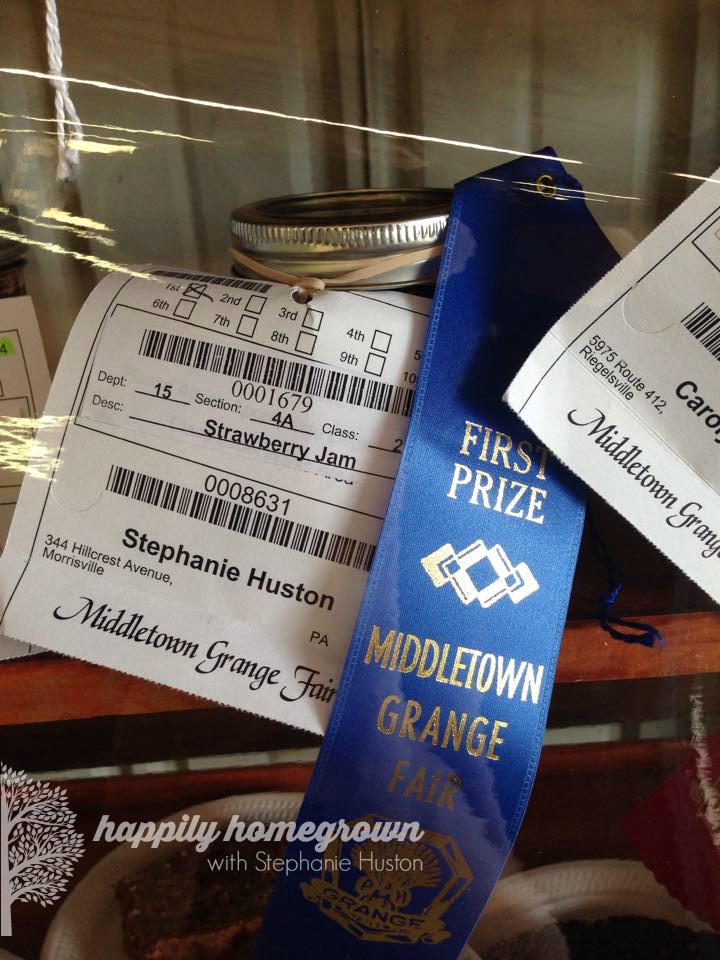
Sometimes the simple things are the best things. I have won a blue ribbon for my strawberry jam the last two years, and I’m going for year three following this simple recipe.
Yield: 1pint or 2 8oz jars per batch
1 1/3 cups chopped strawberries
3 tsp bottled lemon juice
1 ½ Tbsp Ball brand RealFruit Classic Pectin
1 2/3 cups sugar
Start by setting up your water bath canner, and getting your jars good and hot (follow the directions on your canner and/or your jars for how to get them ready for home canning).
In a large, heavy bottom pot, combine the prepared fruit, lemon juice, and pectin. Stir over med-high heat until pectin is dissolved. Bring the mixture to a full rolling boil, while stirring constantly.
Add all of the sugar at once, stirring to dissolve. Return the jam to a full rolling boil, and boil for 1 minute. Skim off the foam if necessary.
Fill your hot jars with hot jam, leaving 1/4-inch headspace. Process in a water bath canner; process jars (4oz, 8oz, 10oz, or pints) for 10 minutes (at an altitude of 0-1000 feet). Make sure you have 1-2 inches of water over the tops of the jars, and don’t start your timer until the canner has returned to a boil.
If you live at an altitude above 1000 feet, you will need to scale your processing times for food safety, with a max time of 15 minutes if you are above 6,000 feet in elevation.
Once you are done processing your jars, remove them from the canner, and place on a towel in a draft-free area. After 24 hours, test the seals. Any jars that didn’t seal go into the fridge and use them right away. All of the jars that sealed should have the rings removed, get wiped down, labeled with the contents and date, and stored in the pantry. If at any time your lid pops off having lost the seal, discard the contents of the jar.
Enjoying Your Homemade Jam
If you want to use your jam right away, you do not have to process it, but rather allow it to cool to room temperature (about 30 minutes) and then put it in the refrigerator. Please know, that just because you will hear a ping, it does not mean your jam is safe to store on the shelf. Only those jars that have been properly water bath processed are shelf stable.
For the best flavor, color, and texture, you want to enjoy your home canned goods within a year, even though they are safe as long as they remain sealed. When you are ready to enjoy your jam, rinse any dust from the jar, open and enjoy! Once open, homemade jams are best stored in the refrigerator for one month. Some may last longer depending on the ingredients use, and the temp of your fridge. We usually can keep ours for about 6-8 weeks, but we tend to use it up in that time. If you use jam infrequently, go with smaller jars so you will waste less jam from it going bad in the fridge.
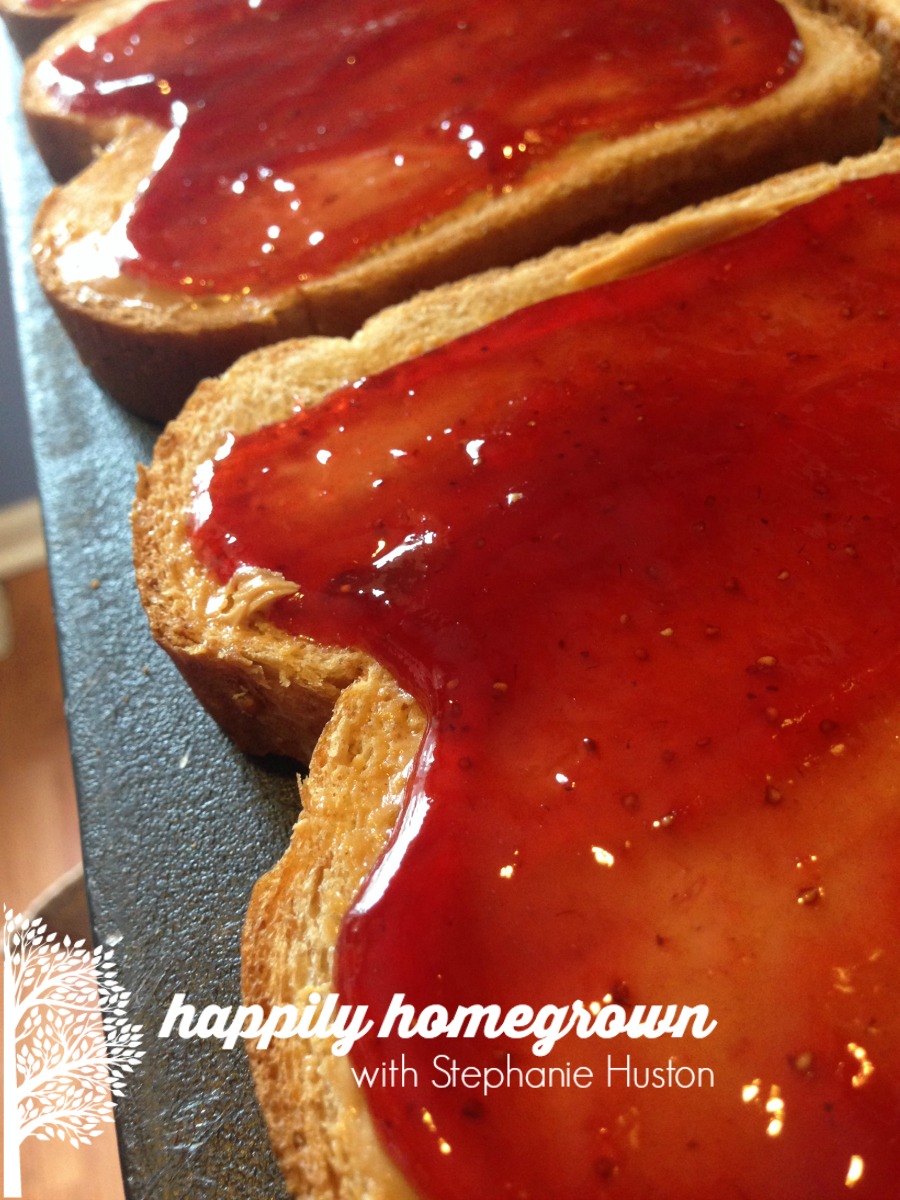
In addition to strawberry jam on toast or in a peanut butter & jelly sandwich, my children love mixing homemade jam (particularly this strawberry) into plain yogurt for breakfast, or microwaving it and putting it on top of ice cream. Sometimes, I may be caught just having a bite of summer directly off the spoon.

Strawberry Jam
Ingredients
- 1 1/3 cups chopped strawberries
- 3 tsp bottled lemon juice
- 1 ½ Tbsp Ball brand RealFruit Classic Pectin
- 1 2/3 cups sugar
Instructions
-
In a large, heavy bottom pot, combine the prepared fruit, lemon juice, and pectin. Stir over med-high heat until pectin is dissolved. Bring the mixture to a full rolling boil, while stirring constantly.
-
Add all of the sugar at once, stirring to dissolve. Return the jam to a full rolling boil, and boil for 1 minute. Skim off the foam if necessary.
-
Fill your hot jars with hot jam, leaving 1/4-inch headspace. Process in a water bath canner; process jars (4oz, 8oz, 10oz, or pints) for 10 minutes (at an altitude of 0-1000 feet). Make sure you have 1-2 inches of water over the tops of the jars, and don’t start your timer until the canner has returned to a boil.
-
If you live at an altitude above 1000 feet, you will need to scale your processing times for food safety, with a max time of 15 minutes if you are above 6,000 feet in elevation.
-
Once you are done processing your jars, remove them from the canner, and place on a towel in a draft-free area. After 24 hours, test the seals. Any jars that didn’t seal go into the fridge and use them right away. All of the jars that sealed should have the rings removed, get wiped down, labeled with the contents and date, and stored in the pantry. If at any time your lid pops off having lost the seal, discard the contents of the jar.


 Michael’s Birth Story – A Gentle C-Section
Your jam looks absolutely dreamy! Thank you for sharing with us on the Art of Home-Making Mondays at Strangers & Pilgrims on Earth! 🙂