Posts on Happily Homegrown contain affiliate links. When you make a purchase through an affiliate link, your price will be the same, but Happily Homegrown will receive a small commission. Thank you for your support!
 Setting Up Your Square Foot Beds
The whole idea behind Square Foot Gardening (SFG) is to grow more in less space. This saves you time, money, and resources while producing an abundance of produce!
The traditional square foot gardening bed is a 4’x4′ square, but you can apply this technique to any raised garden beds. I have beds of various sizes – 3’x8, 2’x8′, 3’x6, 3’x12′, 1’x10′ and soon 6’x4′ – it just depends on where they are in my yard.
When planning your beds, take the length of your reach into consideration. Most people can easily reach in 2′, so a garden should have a maximum width of 4′ if you can walk around to both sides so that you can reach in to tend the garden beds, plant, and harvest with ease. You never want to step into your garden beds because that will compact the soil too much and the goal is to keep the growing medium light.
The depth of your square foot garden beds is completely up to you. A minimum of 6″ is recommended, but it is perfectly acceptable to have bed that are 2′ deep if that appeals to you more. Soil and other growing mediums can get expensive, so I prefer shallower beds of 6-8 inches.
Once you have decided on the size of your beds, line the bottoms with uncoated cardboard. The cardboard acts as a weed barrier from your existing lawn, and will break down into the soil thanks to worms and microorganisms. If you don’t have cardboard available, use a thick layer of wet newspaper. I like to use a combination of the two to make sure that every is adequately covered. You can always find an excess of cardboard and newspaper by asking around on social media or checking out Freecycle for your area.
Now to fill the beds with a growing medium – a combination of peat, vermiculite, sand, perlite, and compost. Some garden centers carry bags of “Square Foot Gardening Soil”. These bags are already a great blend of components, and can save you some time and money on getting your beds established.
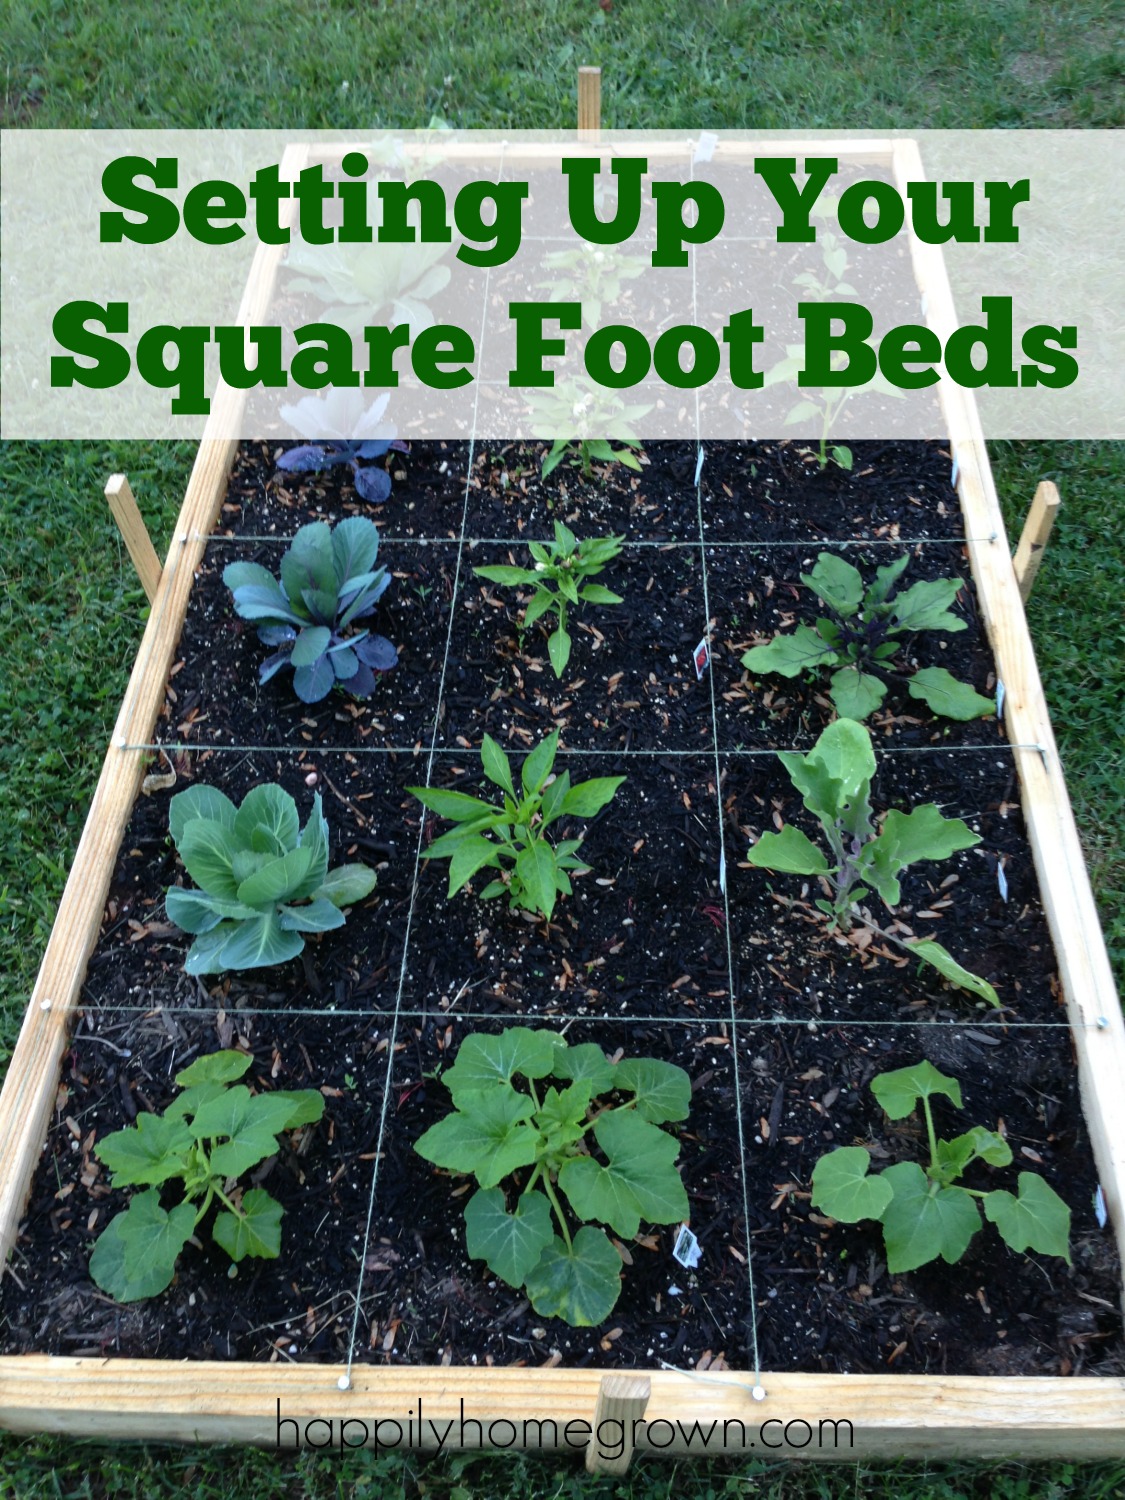
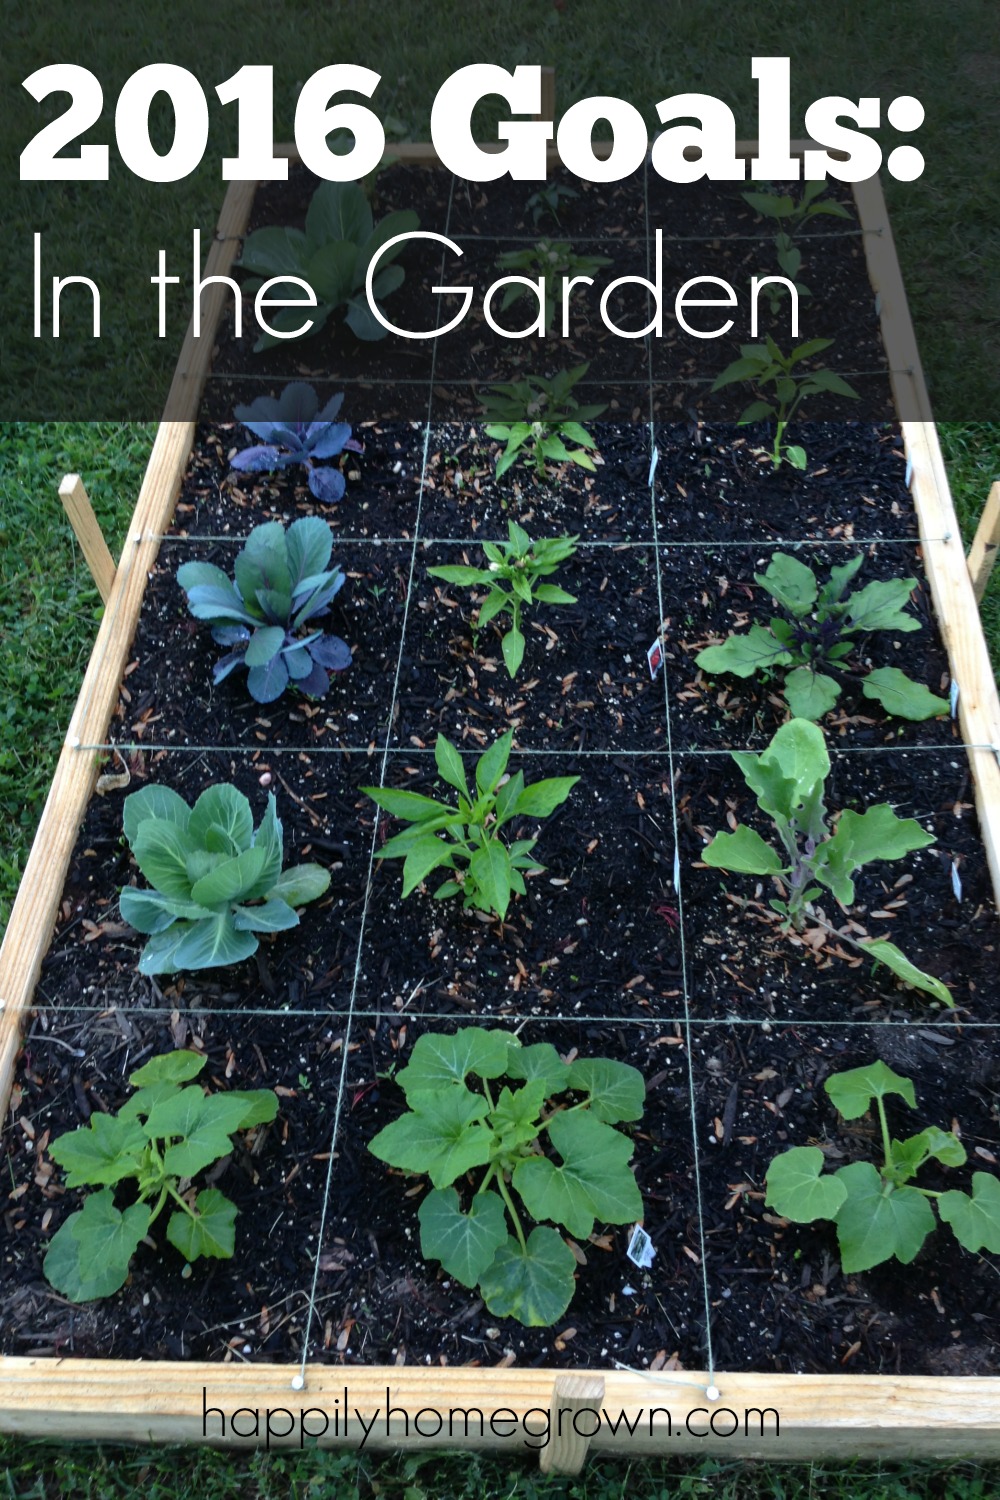
Now that your beds look great and are filled with rich fertile soil, it is time to make your SFG grid. Each square on your grid should be 1 square foot (hence the name). Some people choose to purchase a pre-made wooden grid like this one. I prefer twine & roofing nails.
Since my beds are made of wood, I start at the corner and put a roofing nail every 12″ the whole length of the board. Then, I do the same thing on the opposite side and both short ends. I tie the twine to the first nail on the short end, and then it is a matter of wrapping the twine around the nails to create the grid.
In the next post, I will share with you how to plant the square foot garden to get the best use of your space.


 Day 37: Yard Work
This looks totally doable! I can’t wait for spring to really arrive (its been so cold here…) so I can try this out! We cleared an area last year but never got to it! Thanks for this~
Looking forward to your next post! I’m super excited about having a yard and my own garden again.
Great information on getting a sfg set up. The tip on cardboard and also the growing mediums are very helpful. I look forward to reading about the planting.
This is perfect timing to see this–we just decided to make our first little garden on our patio!! Thanks for the info!
Had a garden in last house but not enough land here and we miss it!!
We are getting ready to plant our garden in the next few weeks, so this is a great resource. Thanks for sharing!
Looking forward to planting our garden this year!
I need to do this! I have the perfect spot in my backyard and every year I say I will plant a garden this year and then before I know it, the season is over. I need to get on it now!
Yes! No time like the present … or Saturday. It can wait until Saturday if you need to.