Posts on Happily Homegrown contain affiliate links. When you make a purchase through an affiliate link, your price will be the same, but Happily Homegrown will receive a small commission. Thank you for your support!
Everything you need to get started preserving fresh fruits, jams, jellies, and more at home!
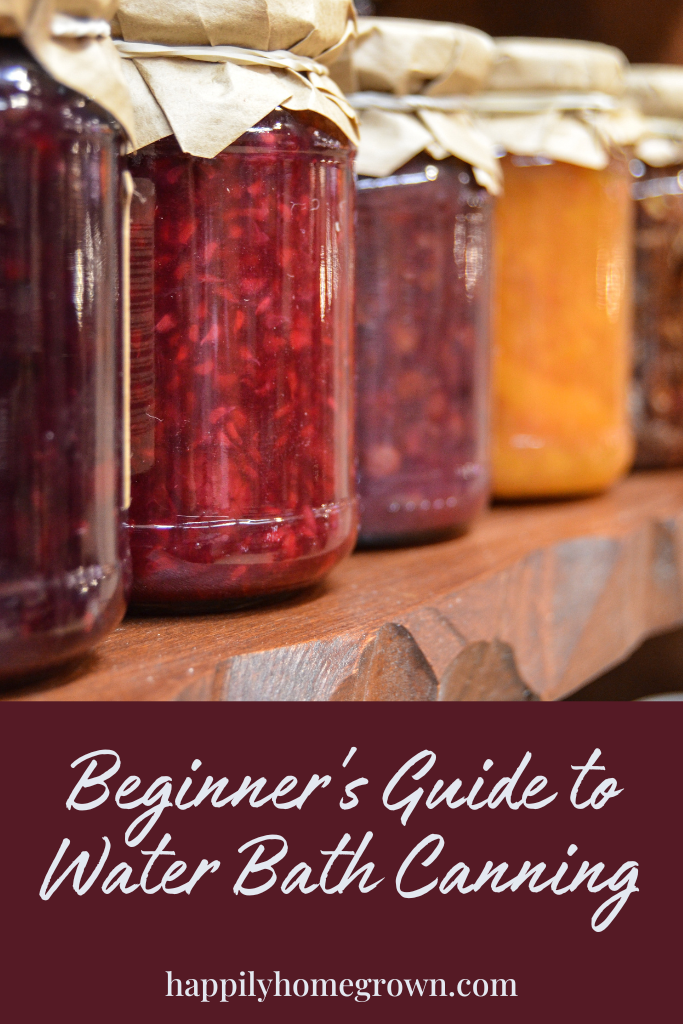
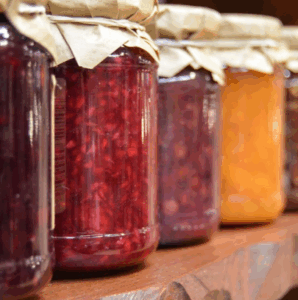
If you’ve ever dreamed of lining your pantry shelves with jars of home-canned goodness—think strawberry jam, applesauce, or dill pickles—then water bath canning is a great place to start. This method of food preservation is ideal for high-acid foods, and best of all, it’s beginner-friendly.
Before you begin, it’s important to gather the right supplies. Here’s a complete list of must-haves (and a few nice-to-haves) to get you started on your canning projects this summer.
The Essential Water Bath Canning Supplies
1. Water Bath Canner (or Large Stockpot with Rack)
A water bath canner is simply a large pot with a lid and a rack inside to keep your jars off the bottom. If you don’t have a traditional canner, a deep stockpot will work as long as you have a rack and at least 1–2 inches of boiling water can cover the tops of your jars.
2. Canning Jars
Choose mason jars that are specifically made for canning. I prefer brand-name Ball & Kerr jars, as they are also rated for pressure canning. These jars come in different sizes—half-pint, pint, and quart—with regular or wide-mouth openings. For jams and jellies, half-pint jars are a great size to start with. Be sure to inspect them for chips or cracks before use.
3. Two-Piece Lids (Lid + Band)
Canning lids come in two parts: a flat metal lid with a sealing compound and a screw band to hold the lid in place during processing. New lids are a must each time you can, while bands can be reused as long as they’re not rusty or bent. While I have used Ball & Kerr lids in the past, sometimes they are hard to find. I have also had great success with the For Jars, Pur, and Superb brands of lids. In over 20 years of canning, I’ve only had 3 lid failures so I’m sticking with the one-time use, brand names because the extra money I spend on the lids is worth it to not have the food loss.
4. Jar Lifter
This tool helps you safely lift hot jars in and out of boiling water. The rubberized grip prevents slipping, and it saves your hands from getting too close to the steam.
5. Canning Funnel
A wide-mouth funnel makes filling jars easier and less messy, especially when working with thick jams or chunky sauces. It also helps you keep the jar rims clean, which is important for a good seal.
6. Bubble Remover & Headspace Tool
This handy stick helps release trapped air bubbles inside your filled jars and doubles as a measuring tool to check the “headspace”—the empty space between the top of your food and the jar rim. Proper headspace ensures a good vacuum seal. While I have a Ball headspace tool for measuring, I find a chopstick to be the best tool for removing bubbles.
7. Clean Cloth or Paper Towels
Before placing lids on your jars, it’s important to wipe the rims clean to remove any residue that might prevent a proper seal. A damp cloth or paper towel works perfectly.
8. Timer
Whether it’s your kitchen timer or your phone, you’ll need one to track your processing time accurately. Canning is as much science as it is tradition, and timing is key to food safety.
Other Helpful (but Optional) Tools
- Magnetic Lid Lifter: Lets you lift sterilized lids from hot water without touching them.
- Food Mill or Food Processor: For making smooth sauces, applesauce, or fruit butters.
- Labeling Supplies: Whether it’s masking tape and a Sharpie or custom printable labels, make sure each jar is marked with the contents and date.
- Dish Pan or Large Bowl: Use for prepping produce, washing fruit, or catching peelings and scraps.
A Few Extra Tips for Beginners
- Start Small: Try a single batch of jam or pickles before diving into a full day of canning.
- Stay Clean: Wash your jars, tools, and hands thoroughly to avoid introducing bacteria.
- Use Trusted Recipes: Always follow safe, tested canning recipes from sources like Ball, the USDA, or university extension programs. The National Center for Home Food Preservation is my go-to, and they even publish a resource book. If you’re looking for canning recipes online, and find something on your favorite blog, cross-check it with a tested recipe for safety.
- Don’t Skip the Headspace: It affects how well your jars seal and how long they’ll stay shelf-stable.
- Let It Cool: After processing, let your jars rest undisturbed for 12–24 hours. As you remove them from the canner, place them on a towel to reduce the risk of thermal shock. You’ll hear the “ping” as they seal.
Why Water Bath Canning?
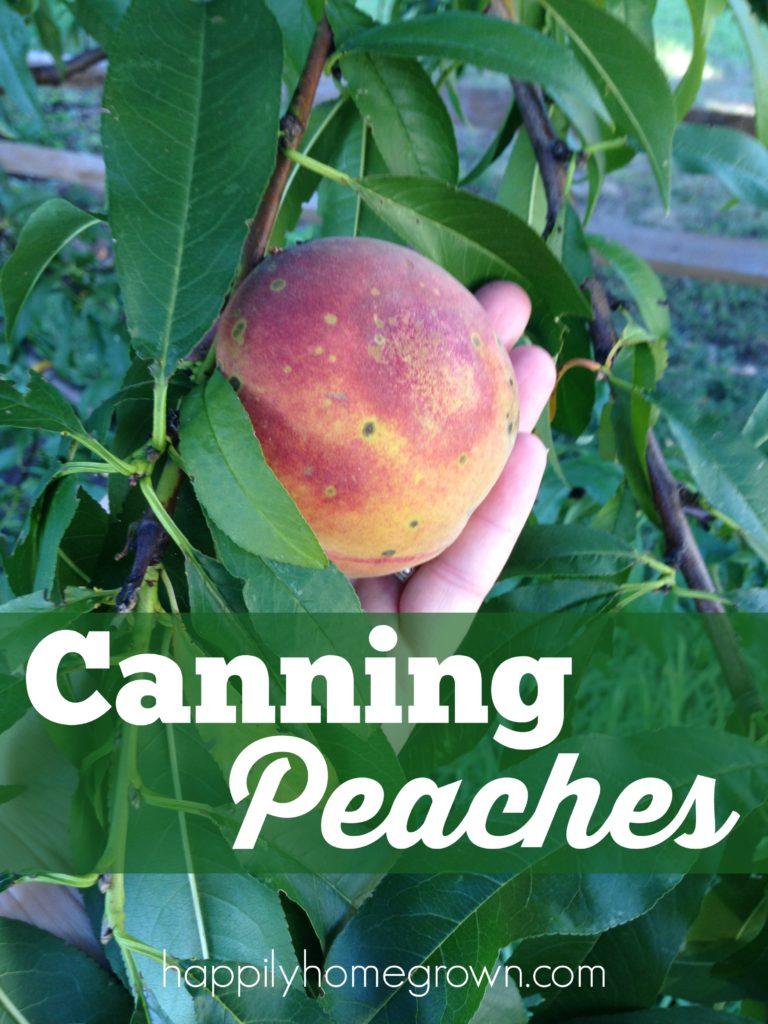
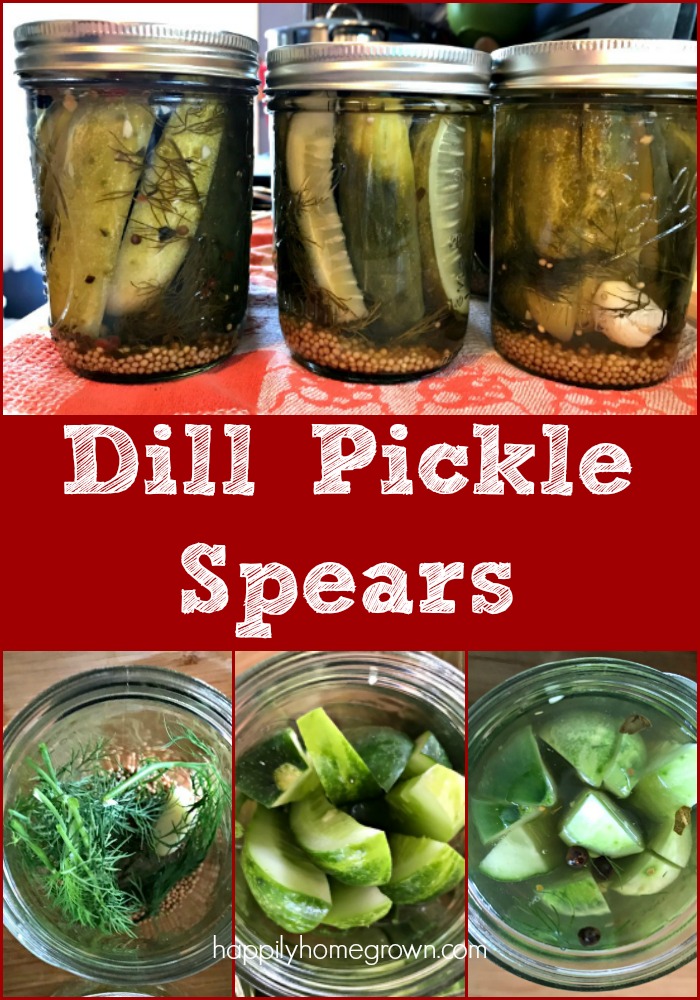
Water bath canning is best for acidic foods—like fruits, tomatoes (with added lemon juice), jams, jellies, pickles, and chutneys. It’s a simple way to preserve summer’s bounty and reduce food waste, while stocking your pantry with homemade goodness.
Whether you’re harvesting from your garden or buying in bulk from your local farm stand, canning is a satisfying way to make your food last longer—and it’s easier than you think.
Ready to get started?
Start gathering your supplies, pick a favorite fruit or pickle recipe, and let the canning begin. You’ll be hooked after your first batch.
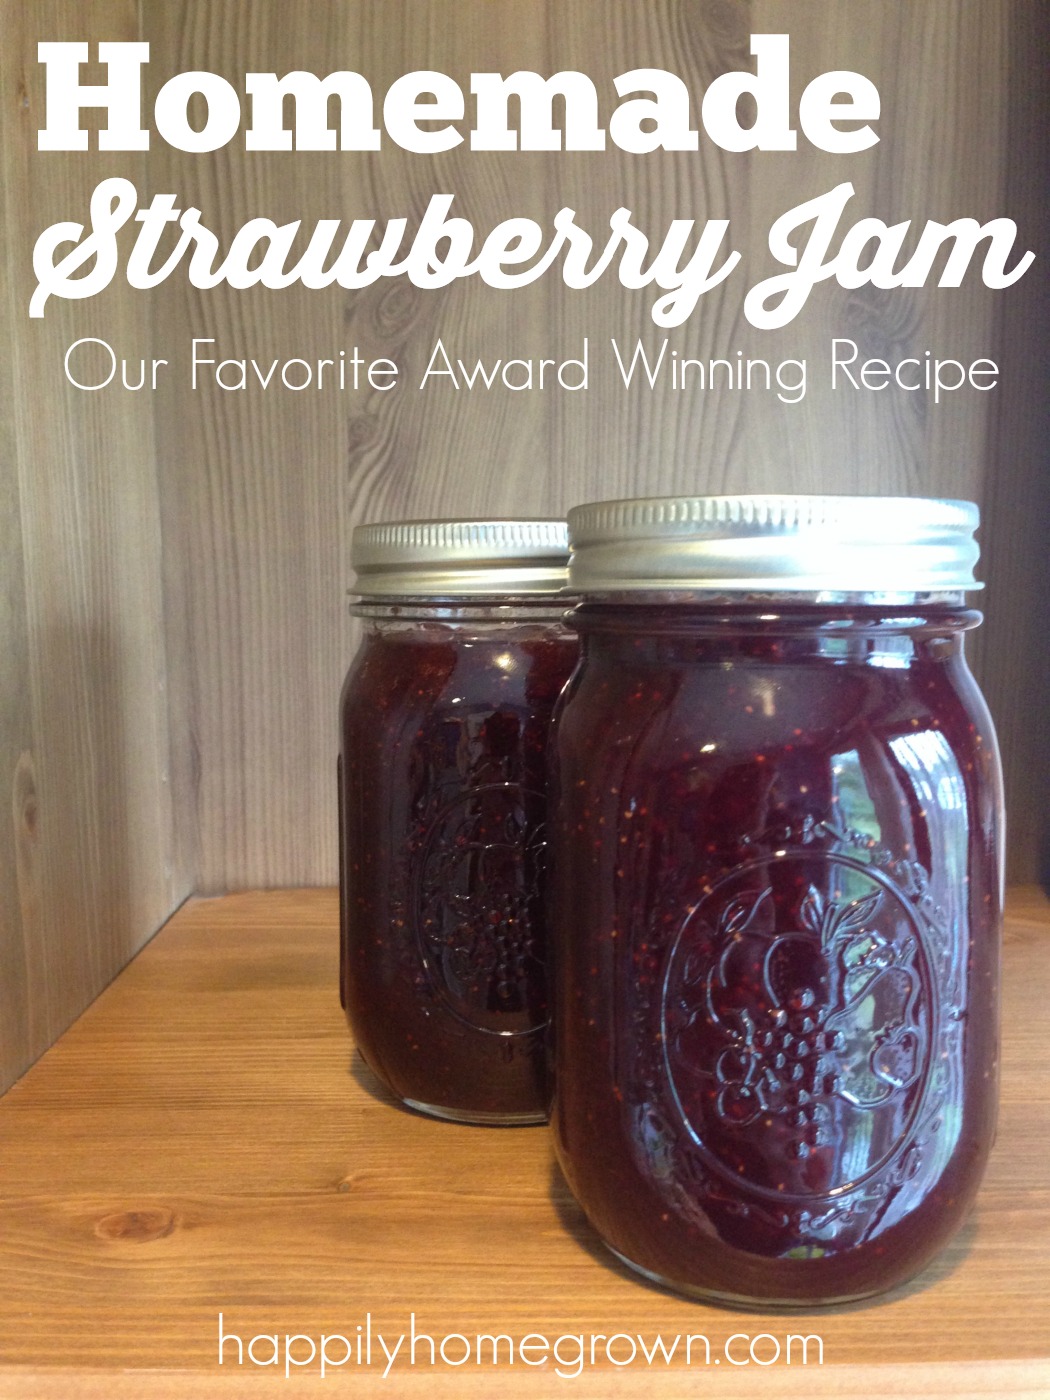
Try Out One of Our Award-Winning Recipes


 Beginner’s Guide to Backyard Chickens – Suburbs Edition
Leave a Reply