Posts on Happily Homegrown contain affiliate links. When you make a purchase through an affiliate link, your price will be the same, but Happily Homegrown will receive a small commission. Thank you for your support!
When you raise backyard chickens, you know just how gorgeous brown eggs can be on their own—from creamy beige to rich chocolate brown. But when it comes to Easter, it can feel a little tricky to dye those brown eggs with the same vibrant results as white ones. The good news? With a few tweaks and a little creativity, you can transform your brown eggs into stunning, jewel-toned Easter treasures using simple ingredients like food coloring and vinegar.
If you love deep, rich colors and a more natural aesthetic, dying brown eggs might become your new favorite Easter tradition.
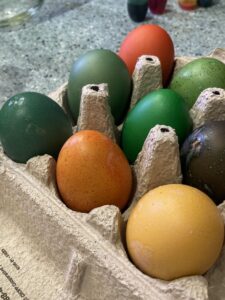
Why Jewel Tones Work Best on Brown Eggs
Traditional pastel shades don’t show up well on brown eggs. The shell’s natural pigment alters the final color, often muting light dyes or turning them muddy. But when you embrace the base color of brown eggs and layer over it with saturated dyes, you get something even better—deep, dramatic jewel tones like emerald, ruby, sapphire, and amethyst.
These tones are bold, beautiful, and earthy—perfect for rustic Easter baskets or elegant spring table decor.
What You’ll Need
You probably already have everything at home:
- Brown eggs (hard-boiled and cooled)
- Food coloring (liquid or gel works)
- White vinegar
- Jars or cups for dye baths
- Spoons
- Paper towels or egg carton for drying
- Optional: gloves and an apron (to prevent staining)
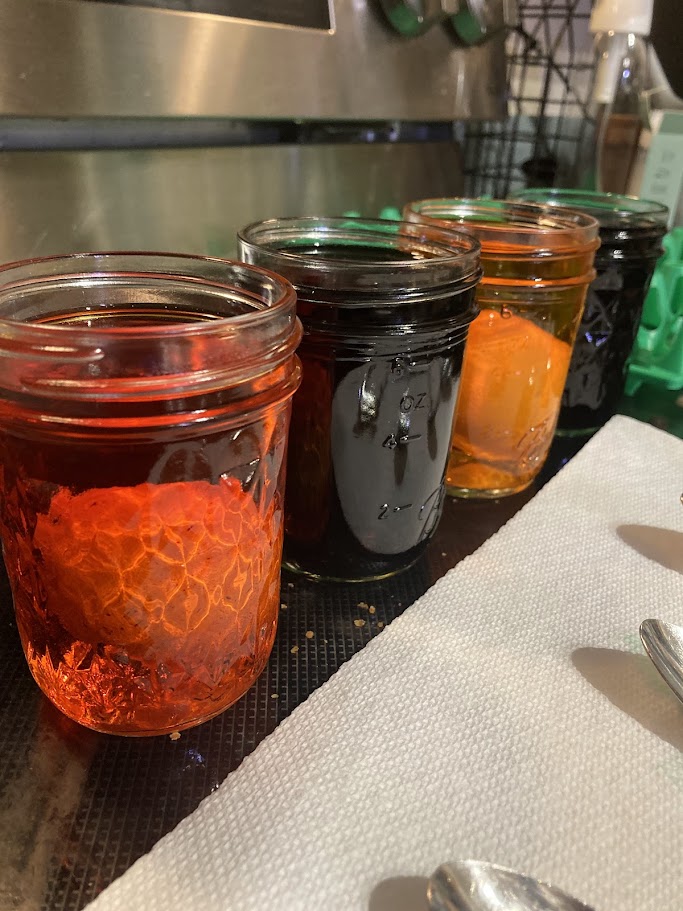
Mixing the Perfect Dye for Brown Eggs
To get rich, bold colors, you’ll need a higher concentration of dye than you would for white eggs. Here’s a basic formula:
Dye Bath Recipe:
- 1 cup hot water
- 1 tablespoon white vinegar
- 10–20 drops of food coloring (or about 1/8 tsp gel color)
You can play around with color combinations, too. Try mixing red and blue for plum tones, or blue and green for teal. The vinegar helps the dye adhere to the eggshells, and hot water intensifies the color absorption.
How to Dye Brown Eggs Step-by-Step
- Boil and Cool Your Eggs:
Use fresh eggs from your flock or store-bought ones. After boiling, let them cool to room temperature before dyeing. - Mix Your Dye Baths:
Combine hot water, vinegar, and food coloring in cups or bowls. Use separate containers for each color to prevent muddy mixing. - Submerge the Eggs:
Carefully lower the eggs into the dye baths with a spoon. Let them sit for at least 10 minutes for deeper tones. For even bolder results, leave the eggs in the dye for 30 minutes or more, checking periodically until you love the color. - Dry and Set:
Use a spoon to remove the eggs and set them on a paper towel or egg carton to dry. Try not to touch the eggs while they’re wet to avoid smudging. Once dry, you can gently rub a drop of vegetable oil on the shell for a soft, glossy finish.
Color Inspiration: Jewel Tones for Brown Eggs
Both Watkins and McCormick food dyes are available in your grocer’s baking aisle or online. These food dyes are available in red, blue, yellow, and green. You can use the colors individually or combined to make beautiful Easter eggs. Below is a starting point for creating beautiful jewel-toned Easter eggs.
| Jewel Tone | Food Coloring Drops | Result on Brown Egg |
|---|---|---|
| Sapphire | 20 drops blue | Deep navy blue with cool undertones |
| Jade | 12 drops yellow, 12 drops blue | Muted earthy green |
| Ruby | 20 drops red | Warm burgundy or deep rose |
| Amber | 10 drops yellow, 2 drops red | Golden amber with rustic warmth |
| Emerald | 20 drops of green | Rich forest green with jewel-like depth |
| Teal | 10 drops blue, 4 drop yellow | Cool, moody blue-green |
| Citrine | 20 drops yellow | Warm golden yellow with mustard tones |
Pro tip: Gel food coloring gives more intense results, but liquid coloring works great with longer soak times.

Tips for Success
- Use hot (not boiling) water to help dissolve food coloring and speed up dye absorption.
- Don’t overcrowd your dye cups—dye a few eggs at a time for even coverage.
- Experiment with double-dipping: Dye once in blue, then again in red for layered tones.
- Let the eggs sit overnight in the fridge (in dye baths) for the deepest hues.
Final Thoughts
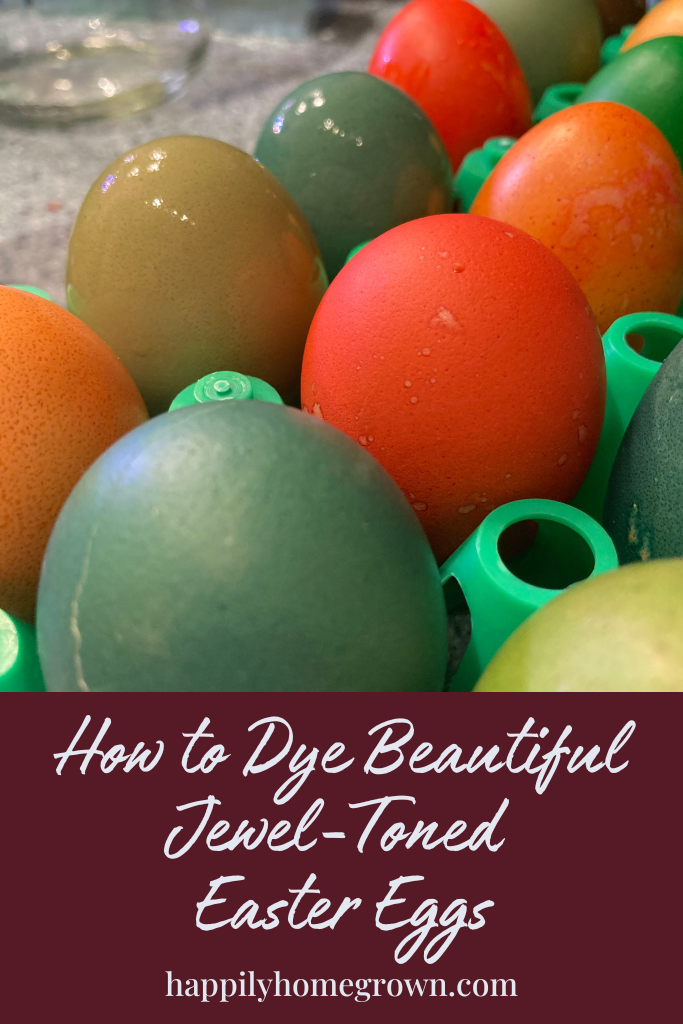
Dyeing brown eggs doesn’t mean you have to settle for dull colors. With food coloring and vinegar, you can turn those earthy eggs into vibrant, jewel-toned gems that are anything but ordinary. Whether you’re decorating for Easter, creating a centerpiece, or just having fun with the kids, these richly colored eggs are sure to wow.
So skip the grocery store white eggs this year—your backyard flock has already given you the perfect canvas. All it takes is a splash of color and a little vinegar magic.


 Perfect Hard-Boiled Farm Fresh Eggs in the Instant Pot
Leave a Reply