Posts on Happily Homegrown contain affiliate links. When you make a purchase through an affiliate link, your price will be the same, but Happily Homegrown will receive a small commission. Thank you for your support!

Have you ever tried a recipe just because it pushes you out of your culinary comfort zone? I plan on doing a lot of that this year, and its all thanks to the Food In Jars Mastery Challenge. Each month, I will be participating in a culinary challenge. Something that builds on the food preservation skills I already have, but pushes me to try something new. I already am familiar with a lot of these techniques, but they aren’t things that I do on a regular basis.
Marmalade is different from other fruit spreads. For starters, its made almost exclusively with citrus. A true marmalade contains pieces of thinly sliced peel, as well as bits of fruit, suspended in the gel.
Around here, we can’t grow our own citrus. Well, at least not easily. This presents a few challenges for those who want to make marmalade. The biggest issue is finding quality fruits that have not been sprayed or coated in wax for transport. But don’t worry, there are ways around that.
I purchased my citrus and the local ShopRite. To clean them up, I washed them in hot water and a little vinegar, and gave them a good scrub with a veggie brush. I was amazed by the amount of wax that came off of them, but better for it to be washed off than to go into your marmalade.
Blood Oranges
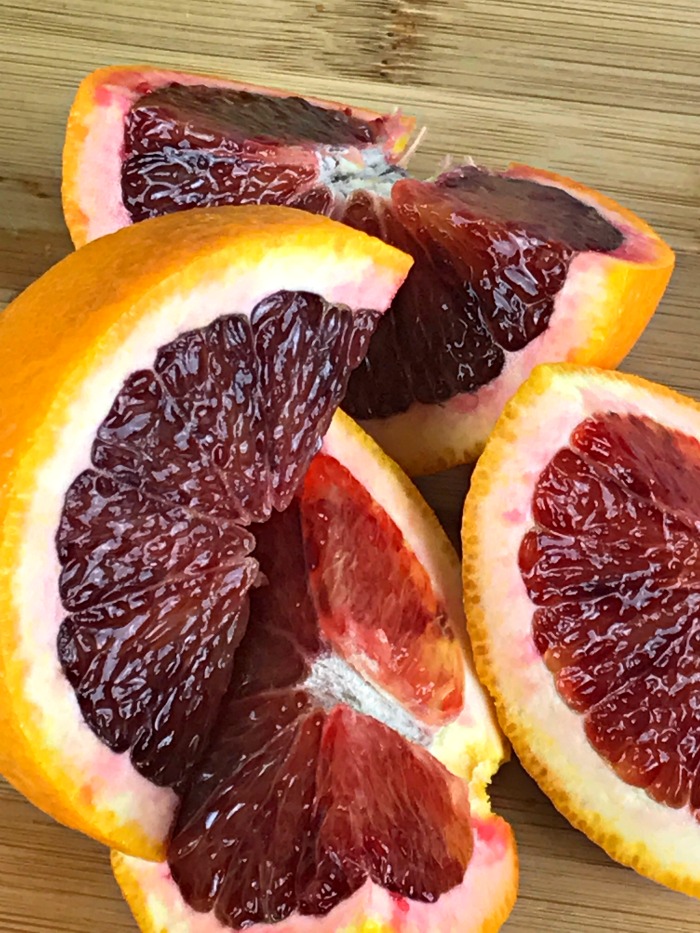
Blood oranges always seem exotic to me. Their bright orange skins hide the deep burgundy flesh. If you have never had a blood orange before, you may be surprised to know it still tastes very much like a regular orange! Blood oranges are a little bit more tart, but it is still balanced with the sweetness and typical orange flavor.
The Marmalade Process
I used several marmalade recipes as a reference for creating my own blood orange marmalade. One thing is for certain, to create the perfect marmalade, its going to take time. In fact, it took 3 days time! Don’t let that intimidate you though. Most of that time was extremely passive, and the end result was worth it. The extended cooking time helps to break down the fruit and soften the peel to its desired texture.
Day 1 – Slice & Cook
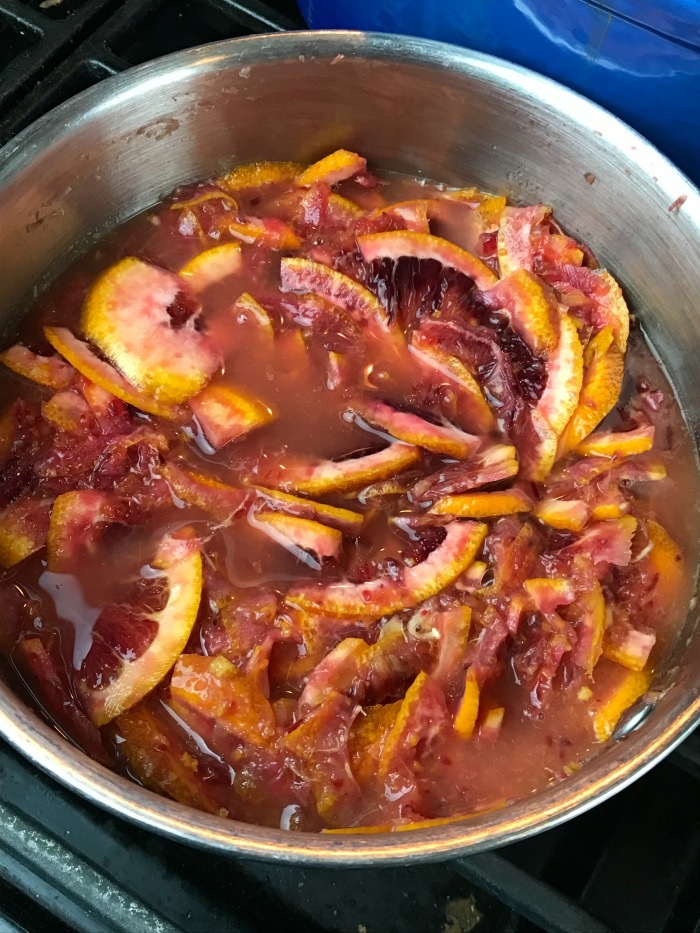
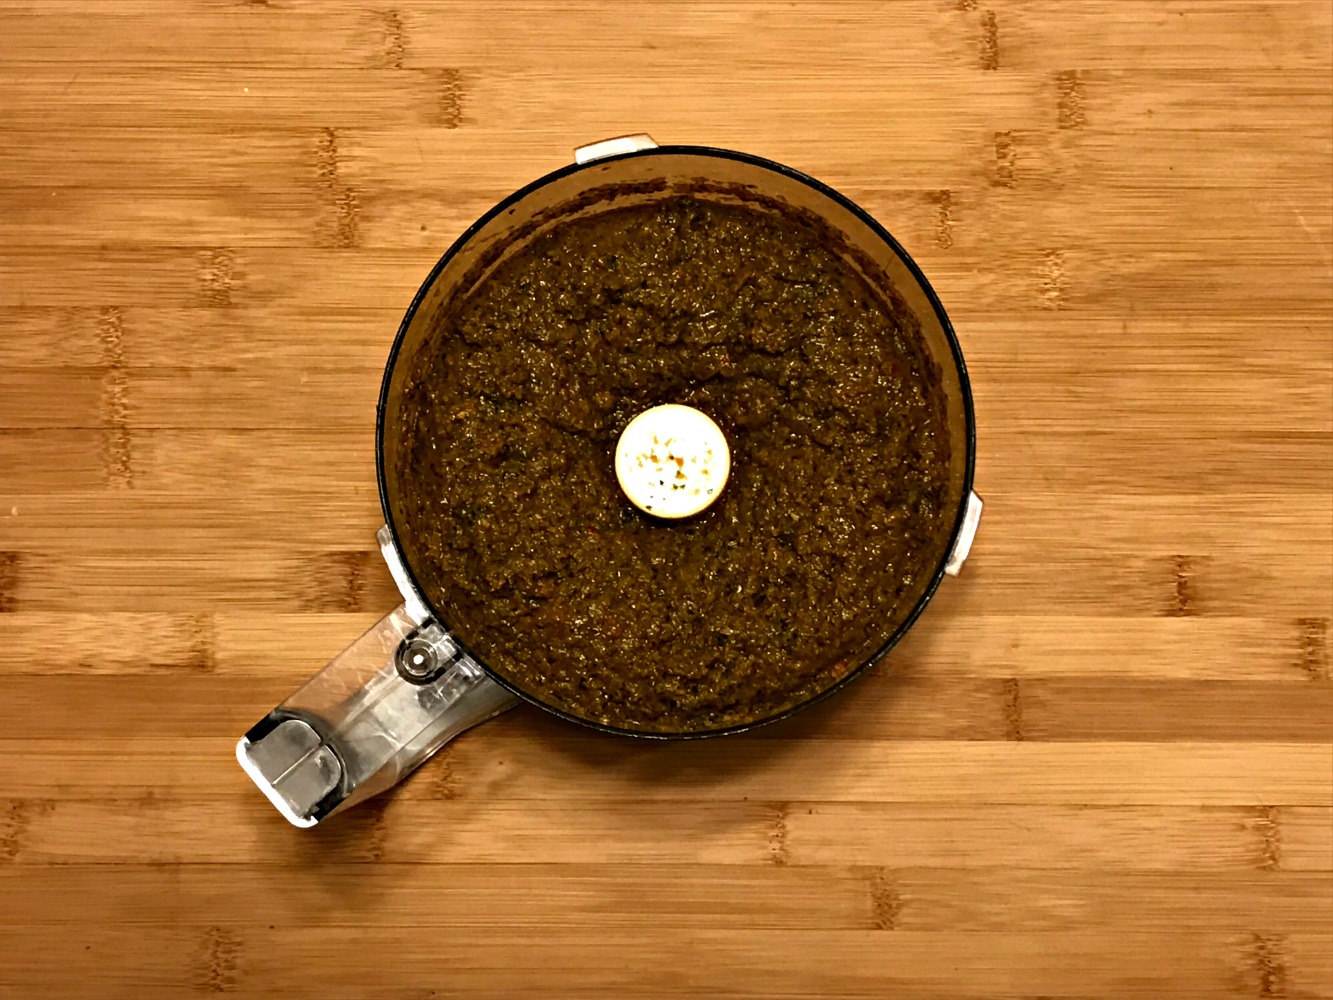
For this batch of marmalade, I used 4 blood oranges. After you have cleaned your oranges, you want to quarter them and remove the center membrane. Using the slicing blade of your food processor, break down the quarters into ribbon thin pieces. If you have an large pieces remaining, toss them back in the food processor, this time with the puree blade, and up to 1 cup of water, and give them a whirl.
Put all of your citrus in a non-reactive pot (I like stainless), and bring it up to a boil stirring frequently. When you reach a boil, turn the heat down and cook your citrus uncovered for 5 minutes. Stir the sliced oranges often so you don’t scorch the bottom of your pot.
After 5 minutes, turn off the heat, place a lid on your pot, and allow to cool to room temperature before storing in the fridge over night.
Day 2 – Cook
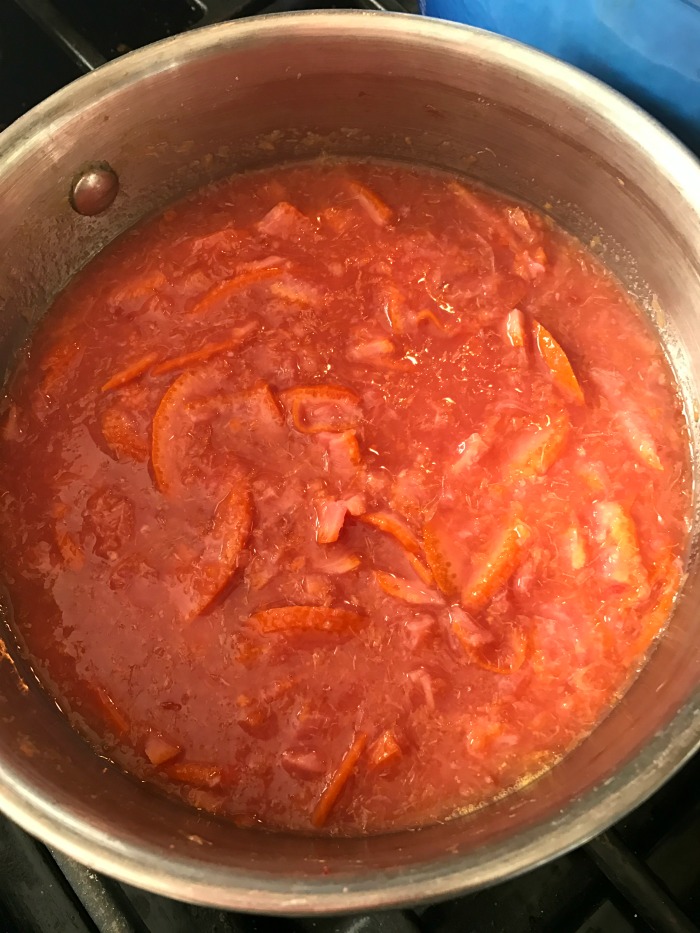
About 20 minutes before you are ready to work on your marmalade, remove the pot from the fridge to take the chill off.
You want to bring your pot of citrus up to a boil slowly, while stirring often to prevent scorching. Boil the mix for 5 minutes. Turn off the heat, place a lid on your pot, and allow to cool to room temperature before storing in the fridge over night.
Day 3 – Marmalade & Canning
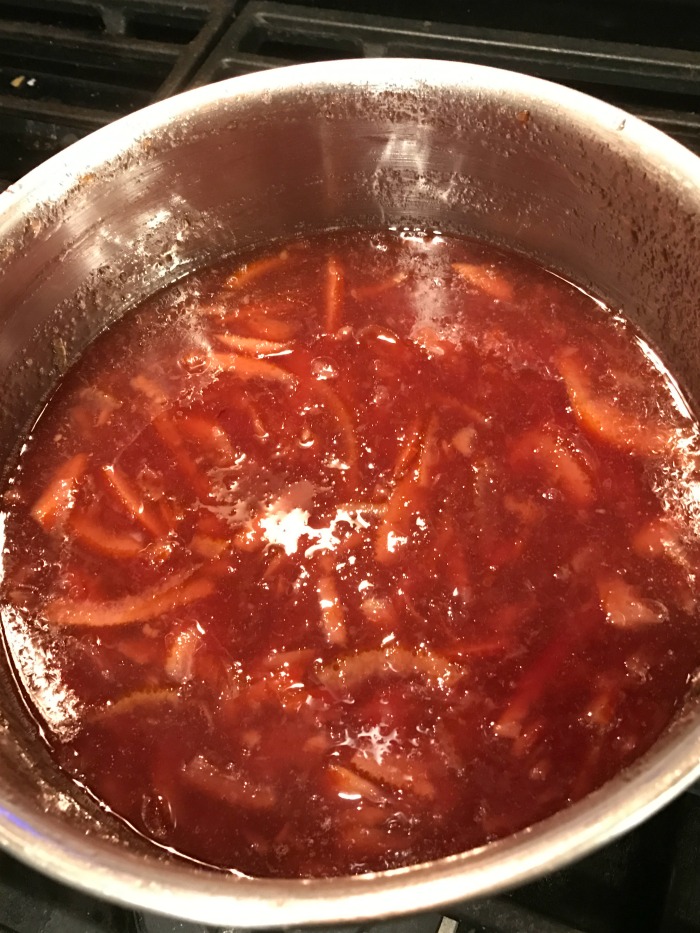
Measure your citrus. Add enough water to equal 3 cups. Place all of the citrus, plus an equal measure of white sugar into a large heavy bottom pot. Slowly, bring your marmalade up to a boil, stirring frequently. Now here comes the only tricky part. You need to continue to cook your marmalade until it reaches 220°F. Cook your marmalade with a candy thermometer in place to keep an eye on your temperature. Your patience will be rewarded.
If you remove your marmalade before it reaches 220°F, your marmalade will not set. That’s great if you want a sauce; not great if you want marmalade.
Once your marmalade is a temperature, remove it from the heat and allow it to rest for 5 minutes. Skim off any foam that has formed and discard.
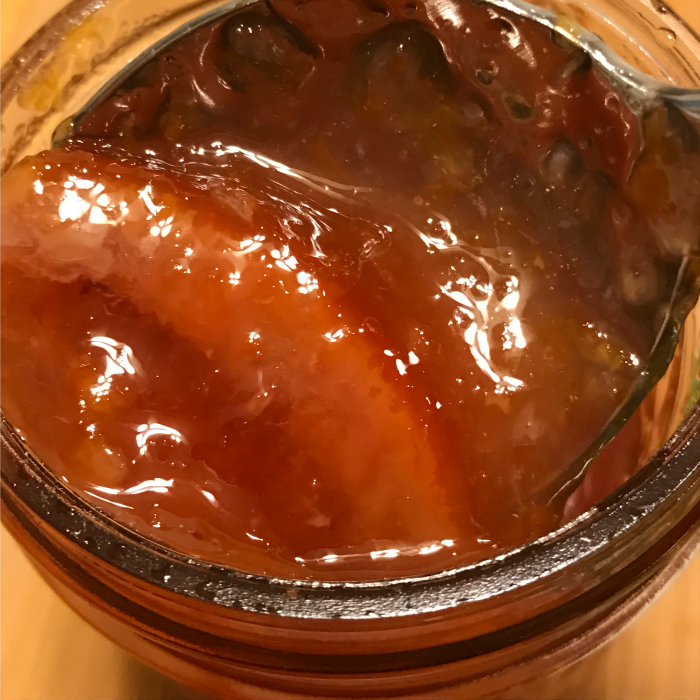
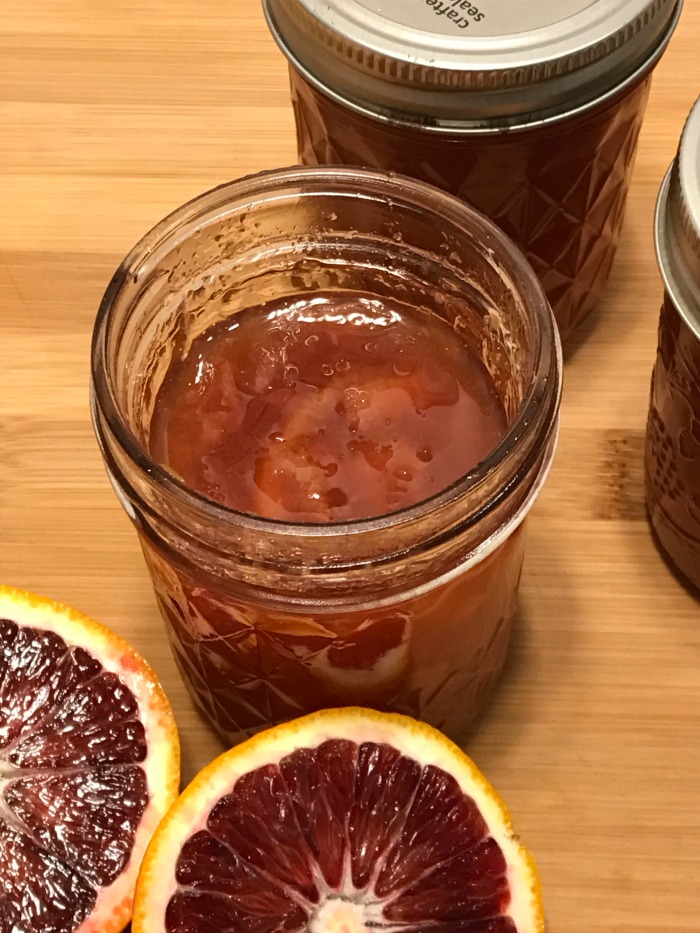
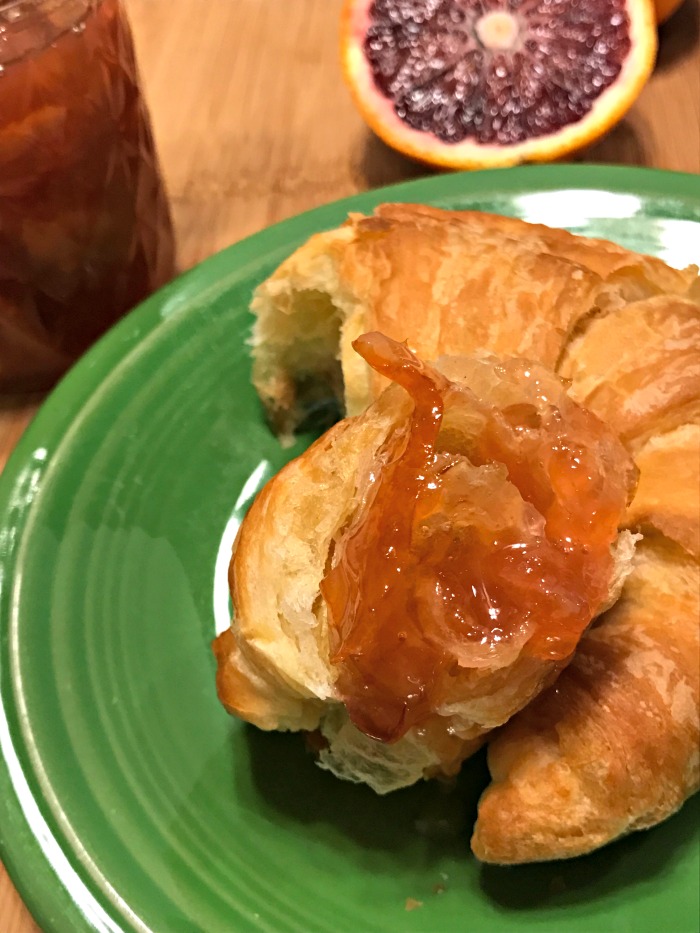
After all of your hard work, you will want to water bath process your marmalade so it you can enjoy it for months to come. Fill hot 8oz jars with the marmalade, leaving 1/4-inch of headspace. Process the jars in a boiling water bath for 10 minutes. When finished processing, remove the jars to tea towel on the counter and allow to sit for 24-hours before removing the rings, and storing in the pantry.
Your home canned marmalade is best when enjoyed within a year, but is perfectly safe as long as the lid remains sealed.


 The Walpack Inn
Wow! It is truly gorgeous. How is the flavor? I remember the flavor getting better after setting for a week or two in the jars. I love that you made this with blood oranges.
I tasted the “cook’s share” and it was deliciously tart. I’m looking forward to giving it a bit of time on the shelf and trying it again as the flavors develop.
Is that 4 single oranges or 4 pounds? And can this recipe be increased exactly across the board? Blood oranges are my favorite and I want to make this badly. It looks wonderful.
I used 4 single oranges, and yes you can scale it up. However, I would not do more than 3x’s in a single batch to prevent it from scorching the bottom of your pots.