Posts on Happily Homegrown contain affiliate links. When you make a purchase through an affiliate link, your price will be the same, but Happily Homegrown will receive a small commission. Thank you for your support!
 My youngest is now 4 years-old, and that means we start pre-school. While I began collecting items for our homeschool at Just Between Friends last spring, there are some items I have chosen to make myself. Sewing Cards were an easy place to start.
Pre-Schoolers Need Sewing Cards
While to some, a sewing card may just look like a quiet activity to get your pre-schooler to focus, there is a lot more going on there. The use of sewing cards strengthens the wrist and tiny fingers while perfecting their pincer grip – the use of the thumb and pointer finger that is used to grab things – which is needed to hold a pencil correctly.
These kinds of activities are necessary, in addition to coloring and tracing, to develop the full range of motion in both their dominant and non-dominant hands. It also teaches children how the dominant and non-dominant hand work together to complete a task – something we don’t really think about as adults because it’s now intuitive.
How We Made Our Turtle Sewing Card
Our Turtle sewing card was made using the Cricut Stretch Your Imagination cartridge.
First, cut a 7 1/2″ square of light blue for the background.
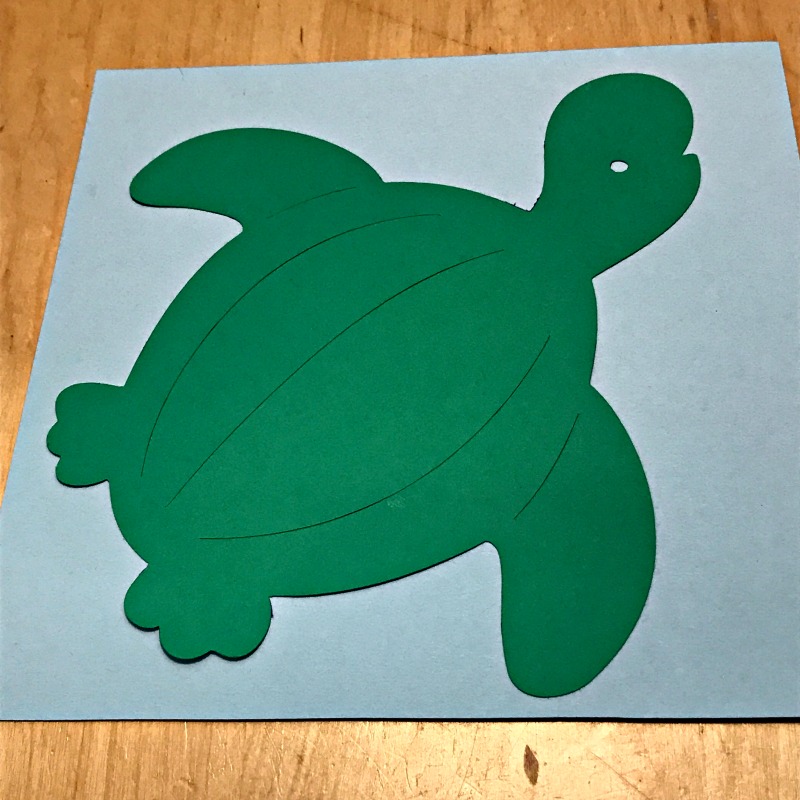
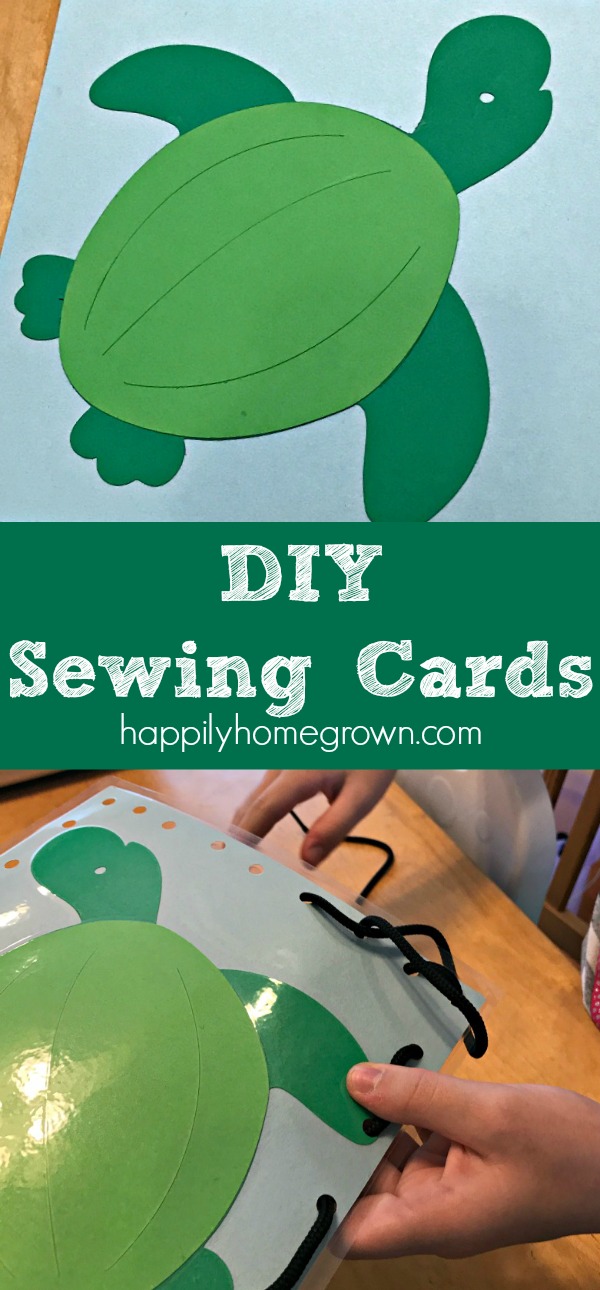
Next, cut out the base of your turtle by setting your Cricut to 7″, and cutting a <Turtle>
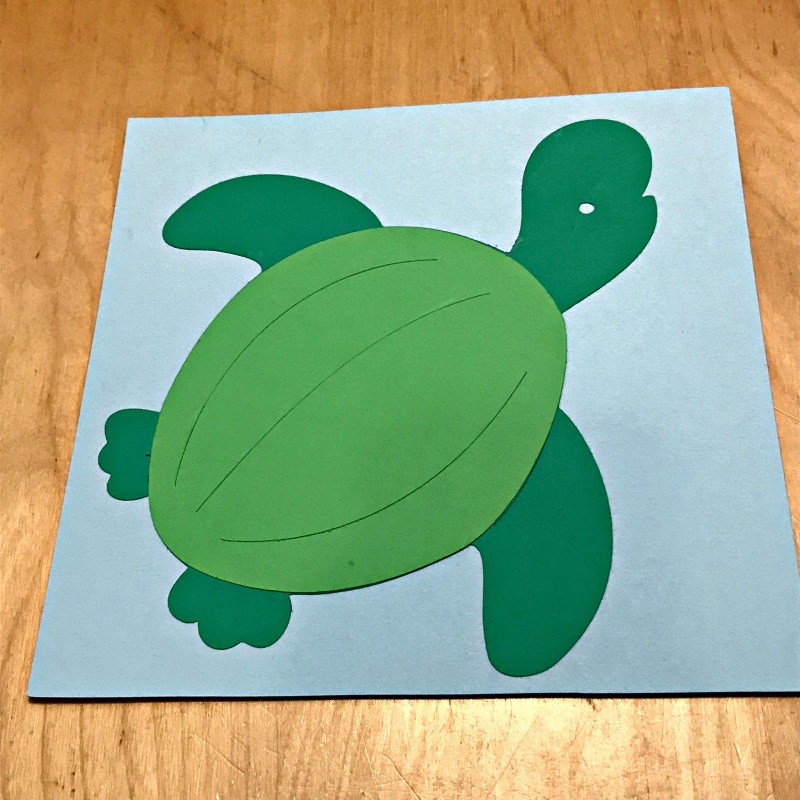
Then, cut out the shell from another piece of cardstock in a different shade of green. Set your Cricut to 7″, select Layers, then select <Turtle>
Glue all of your layers together with a glue stick.
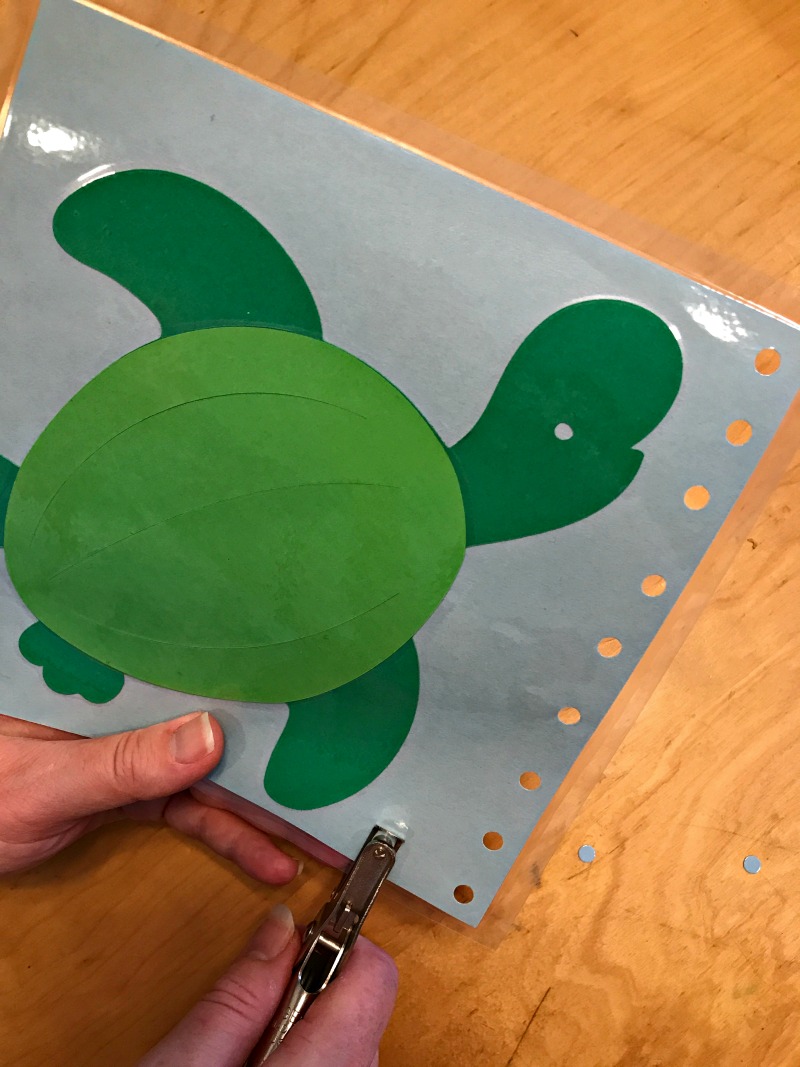
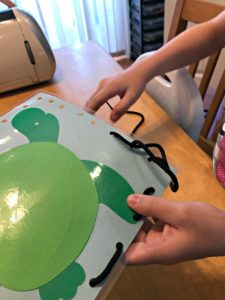
Laminate your sewing card, and then trim off the excess. Punch holes around the perimeter.
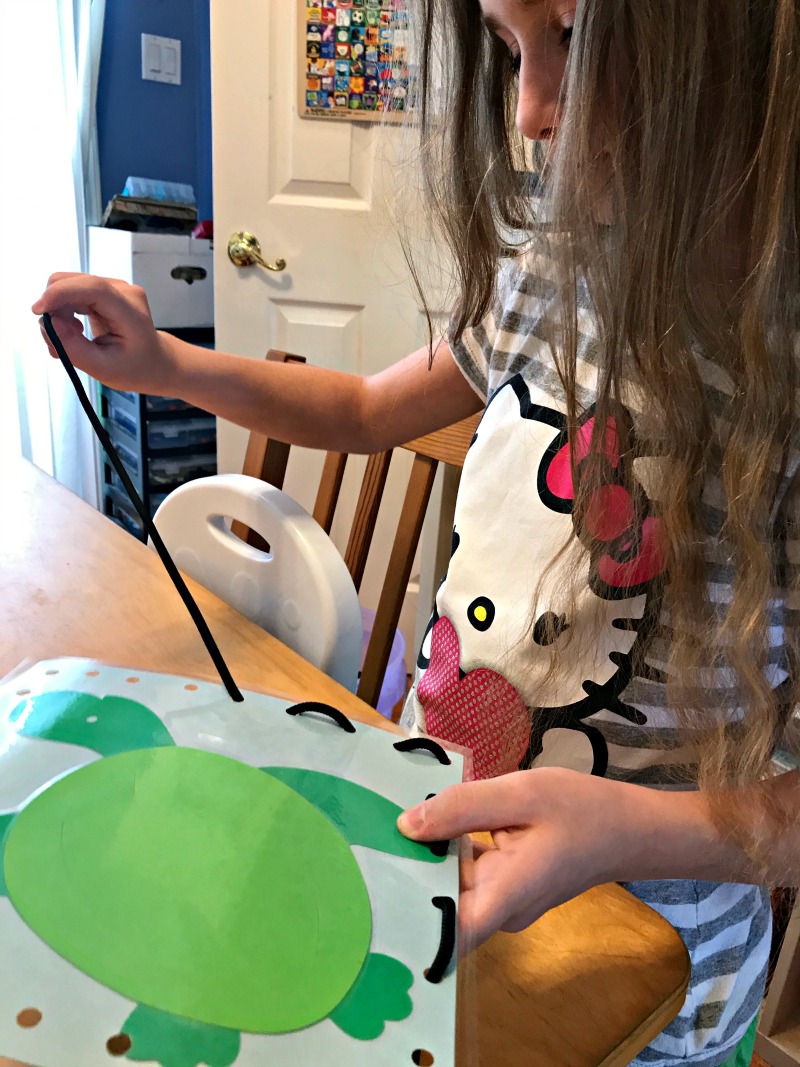
Add a boot lace and your sewing card is ready to go!
Make Your Own Sewing Cards
You don’t need fancy equipment to make a sewing card for your child. Here’s how to make sewing cards without a Cricut.
cardstock or construction paper
scissors
contact paper or laminator
single-hole punch
boot lace
First, cut out your image. This can be a plain shape or a picture you printed off the internet or cut from a magazine. If you have multiple layers to your image, make sure to glue them down with a glue stick.
Next, laminate your image. You can use a small desktop laminator or even clear contact paper. The goal is to have a rigid image for your child to sew.
Punch holes around the perimeter of your sewing card.
Use a boot lace (about 72″) as the lace for your card. The aglet makes it easier for your child to push the “thread” through the hole, plus a boot lace won’t shed and fray the same way a piece of yarn would.


 Dutch Oven Chocolate Lava Cake
This is such a great idea. I’m going to do this for my preschooler.
I hope your preschooler enjoys it!