
Posts on Happily Homegrown contain affiliate links. When you make a purchase through an affiliate link, your price will be the same, but Happily Homegrown will receive a small commission. Thank you for your support!
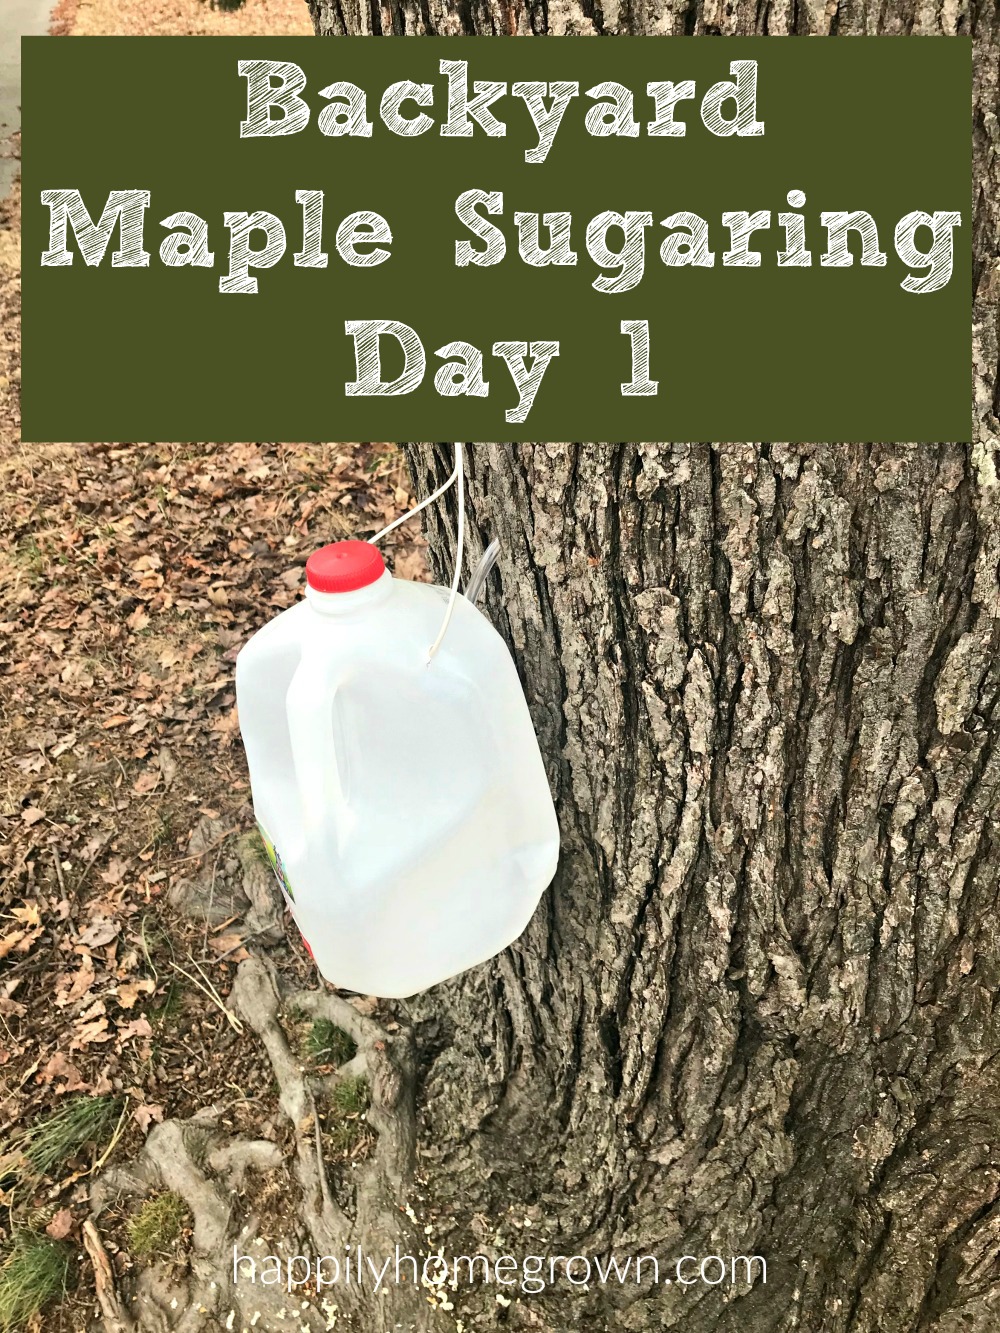
When I shared my homemaking & homesteading goals for February, one thing I mentioned wanting to do was tap our maple trees. I have been reading up on backyard sugaring and making maple syrup. I figured this was another homesteading skill that I could develop and share with others – my family, my scouts, and our community.
Local farms in our region held their maple tapping events this past weekend, so yesterday I decided it was time for us to tap our trees as well. Our overnight temperatures are still falling well below freezing, but our daytime temps are forecast to be in the mid-40s every day for the next week. It sounds like ideal conditions for the first attempt at things.
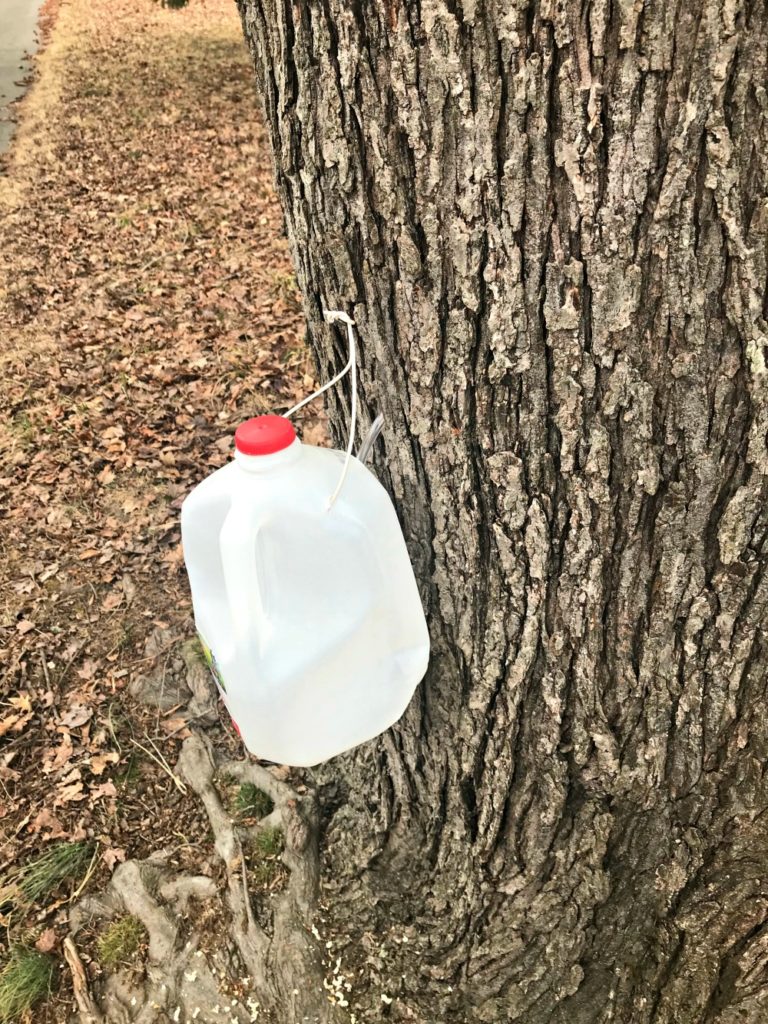
We have four maple trees on our property, and because of the diameter of the trees, that means we can have a total six taps. Our largest tree has three taps, and each of the other trees has only one. Since we wanted to do things as inexpensively as possible, we are using 5/16ths tubing for our taps, and clean milk and juice jugs for our sap collection. The only other item I had to purchase was a 5/16th drill bit because I wanted one that was sharp, and my husband didn’t want me gunking his up with sap.
Getting Started
My daughter and I set up the taps, drilling only about 1 1/2 inches into the tree for each tap, keeping the hole on an angle (about 45 degrees). We inserted the tubing, hung our collection containers, and then hoped for the best.
Because it was chilly when we first started our taps, none of the sap was running right away. I was nervous that we messed things up, so I searched around online and asked a few questions in a maple syrup forum. It seems that not only temperature can impact a sap run, but also wind, cloud coverage, and the alignment of the stars. All of that to say we didn’t mess things up.
I was advised to leave the taps in, and check them frequently, collecting any sap that we have, and then putting it in the fridge or freezer until we are ready to start boiling it down.
Day 1 Results
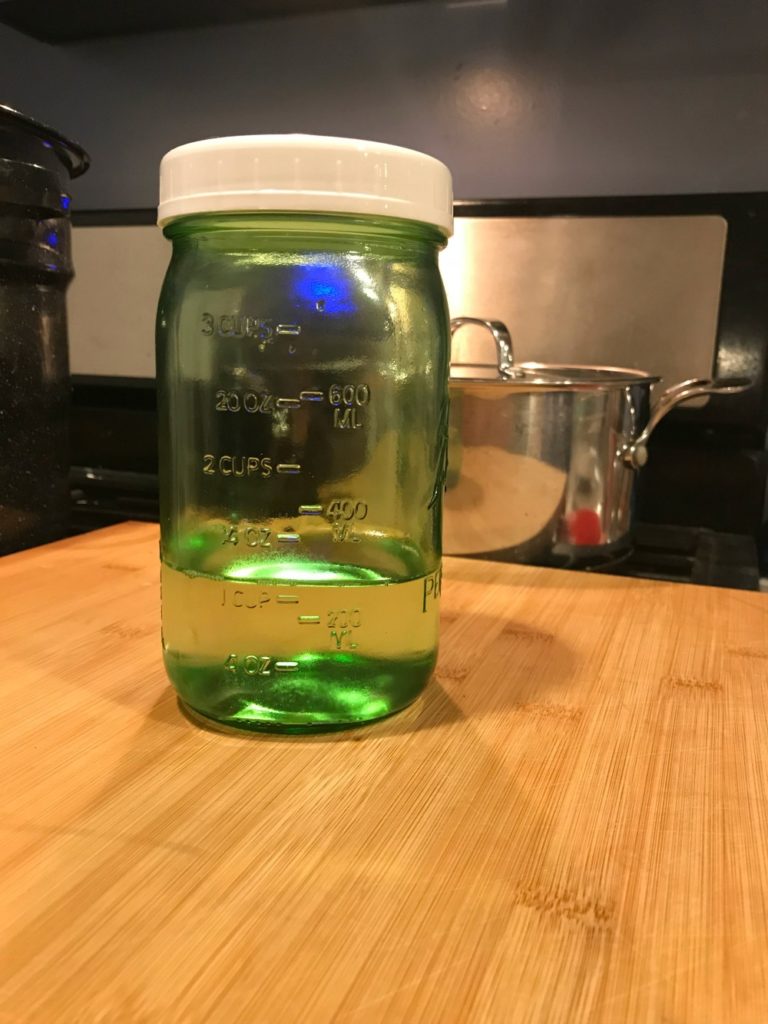
So, yesterday was day one. Our trees were tapped around 11am, and at 6pm, Steve and I went outside so I could show him my handy work. To my delight, one out of six taps was running! I ran into the house to grab a mason jar to collect the sap and for day one, we have just over a cup of sap!
WOO HOO! It worked! My neighbors must think I’m nuts out there hootin’ and hollerin’ in the dark while running tree to tree in my winter coat and slippers checking on the jugs attached to the trees.
That first sign of success is all that I needed though. We will be making our own maple syrup later this month from the maple sap collected from our trees! This is exciting, and I can’t wait to share it with you!


Yay! Success! I love your description of running around your yard at night, LOL!. I am quite sure the neighbor think we’re nuts, too!
Doesn’t it take like a gallon of sap to boil down to 1 teaspoon of maple syrup? Something ridiculous like that. I’m so glad you guys got to do this
It takes 40 gallons of sap to make 1 gallon of maple syrup. I am hoping to get at least 20 gallons of sap so I can have a half-gallon, and from what I’ve read, it is definitely possible with a single tap capable of producing 5 gallons of sap times the 6 taps we have going. I’ll be sharing more of our adventure as we continue to figure things out.
Awesome! ❤️
The idea is to simplify and bring more joy into daily homesteading tasks. However, Pure Living For Life has started a debate that this is not real homesteading, it is just playing homesteading. Well, we are here to encourage you to start (playing) homesteading, and here are 5 reasons why: 1. Homesteading is not about where you live If homesteading would only be possible on an own piece of land, too many people, including us, would maybe never be homesteaders. We would still be dreaming about the day we can finally move out to the country, have that perfect land, and start real hardcore homesteading.